- Spedizione gratuita da 75 € all'interno di Italia
- Reso semplice


 Spedizione gratuita da 75 €*
 Spedizione con Poste Italiane
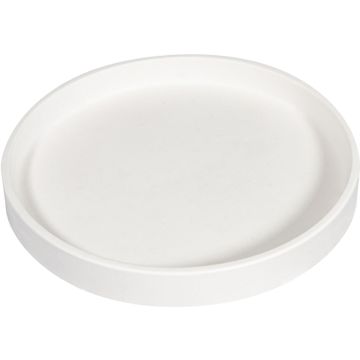
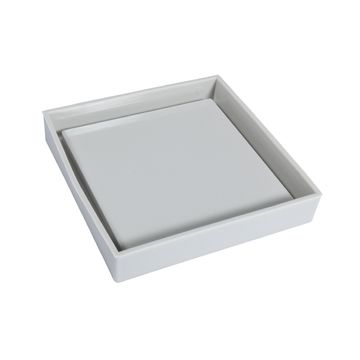
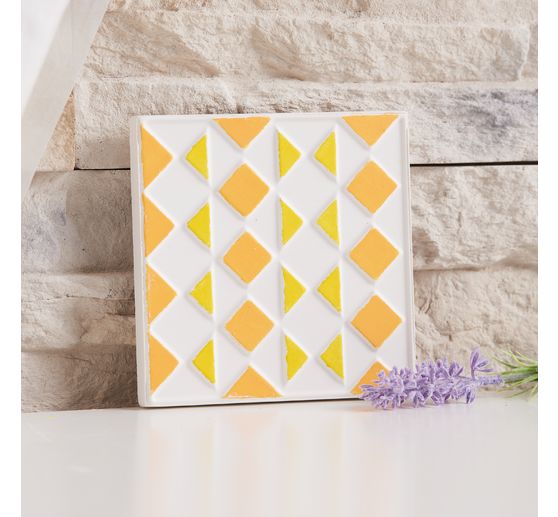
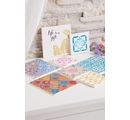
Personalizzi la sua zona giorno con lo stampo per colata "Tile". Come sottobicchiere o per abbellire vassoi e simili, può facilmente creare le sue piastrelle con questo stampo per colata riutilizzabile. Lo stampo ha uno spessore di 1 cm, che lo rende perfetto per il calcestruzzo e i composti di colata creativa. Uno speciale inserto in rilievo assicura ottimi motivi sulle sue piastrelle.
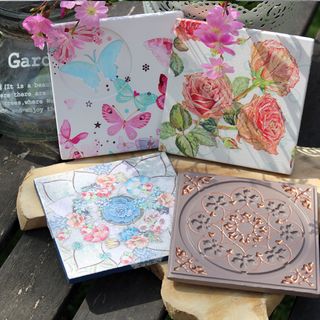
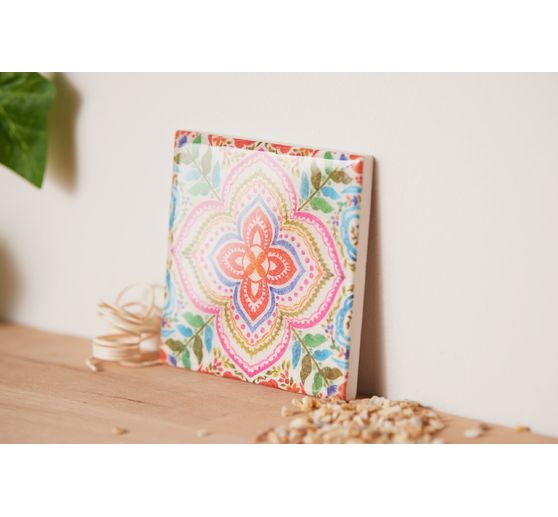
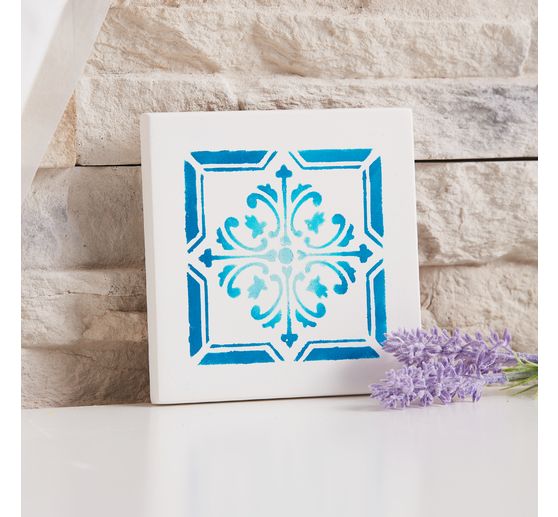
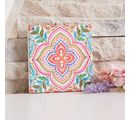
I vantaggi dello stampo per colata "Tile" sono evidenti: è facile da usare, pesa poco ed è resistente grazie alla plastica robusta. Ma la cosa più importante è che può utilizzare questo stampo per creare accenti unici nella sua casa. Che si tratti di colori vivaci, di toni semplici o di motivi diversi , le opzioni di design sono meravigliose.
Con lo stampo per colata "Tile" , non solo può valorizzare la sua zona giorno, ma anche altre aree della sua casa. Ad esempio, che ne dice di sottobicchieri fatti in casa per il tavolo da pranzo o come regalo personalizzato per i suoi cari? O che ne dice di attaccare piccole piastrelle alla parete come decorazione?
Ordini subito lo stampo per colata "Tile" e trasformi le sue idee creative in realtà. Acquisti questo esclusivo accessorio per hobby creativi e diventi un maestro del design di piastrelle!
Tips to use:
Preparations:
Mix the desired casting compound according to the instructions. If you wish, you can color it with color pigment powder.
Application:
Slowly pour the mixed casting compound into the casting mould. Leave a rim of at least 2 mm free to make it easier to demould your casting later.
Gently tap the casting mould so that the mixture is evenly distributed and any air bubbles come to the surface. You can then prick these with a lace object.
Time to dry:
Allow the casting compound to harden well. Follow the drying times specified in the instructions for the casting compound.
Work to finish:
You can now demould your casting. If the casting does not come off simply by dropping it, you can carefully loosen the mould all around with your fingers and tap it against the mould.
Good to know:
For detailed moulds, we recommend using a mould release agent or release wax to protect the mould.