- Spedizione gratuita da 75 € all'interno di Italia
- Reso semplice


 Spedizione gratuita da 75 €*
 Spedizione con Poste Italiane
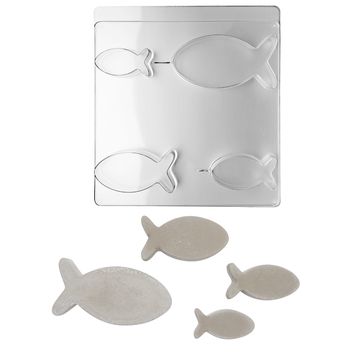
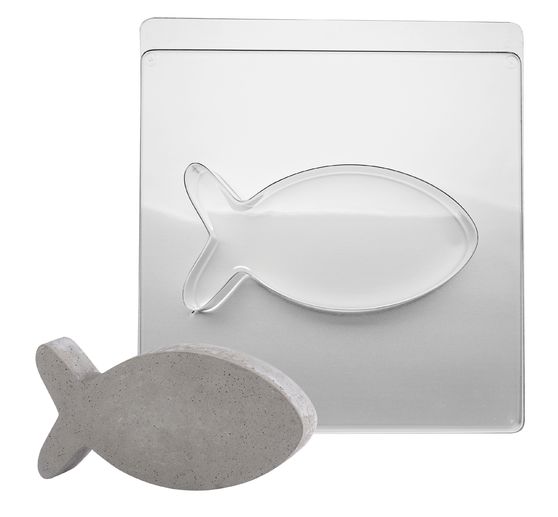
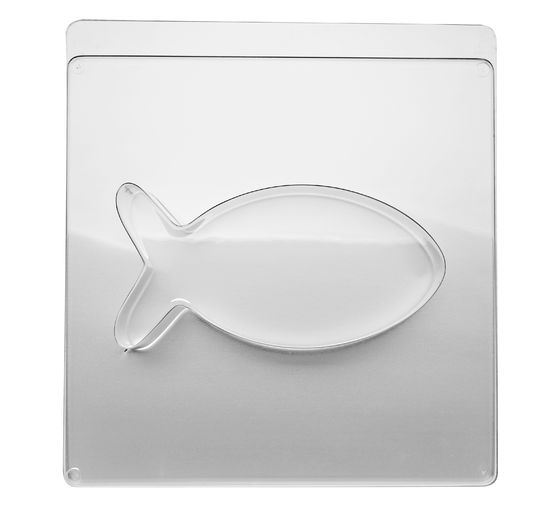
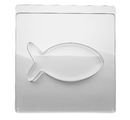
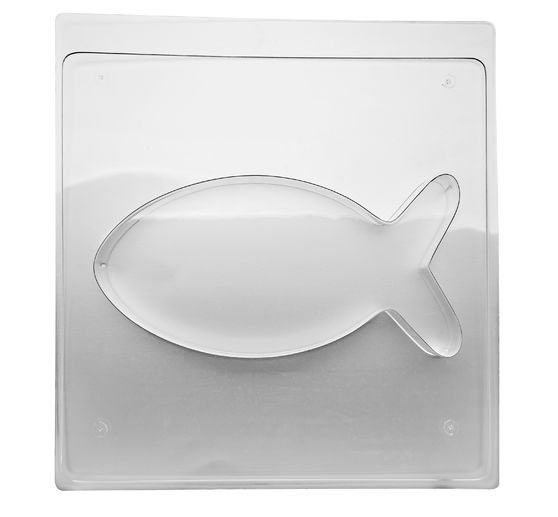
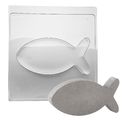
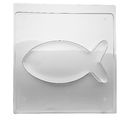
Può creare decorazioni uniche con lo stampo per colata "Fish"! Lo stampo per colata in PET, resistente al calore (fino a circa 60°C) e altamente trasparente, è stabile e riutilizzabile. Sia con cemento che con composti per colata creativi, può modellare il suo pesce in pochi passi.
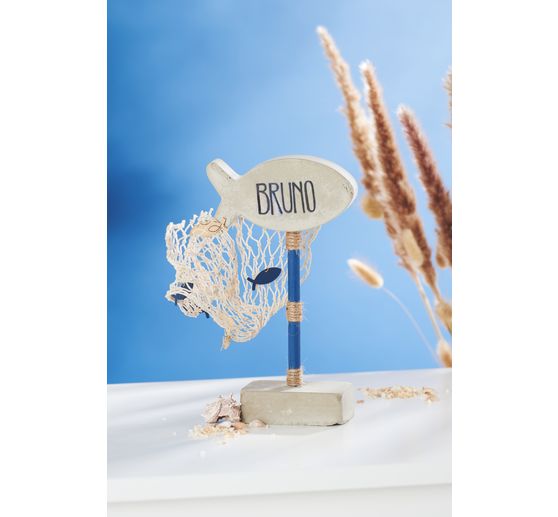
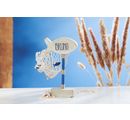
Gli oggetti stampati non sono solo accattivanti, ma anche versatili. Li trasformi in una decorazione da tavola marittima o li utilizzi per decorare il tavolo del suo patio. I pesci portano la sensazione della spiaggia e del mare nel suo spazio vitale. Soprattutto in combinazione con una rete da pesca e altri oggetti marittimi, creano un'atmosfera accogliente.
Un ottimo modo per personalizzare i suoi pesci è disegnarli con l'oro Inca. Il colore è disponibile in varie tonalità e conferisce ai suoi pesci un tocco speciale. In questo modo si creano pezzi unici, perfetti anche come regali o pensierini.
Guardi lei stesso quanto è versatile lo stampo per colata "Fish". Crei le sue decorazioni marittime. Ordini oggi stesso e porti il fascino marittimo nella sua casa!
Tips to use:
Preparations:
Mix the desired casting compound according to the instructions. If you wish, you can color it with color pigment powder.
Application:
Slowly pour the mixed casting compound into the casting mould. Leave a rim of at least 2 mm free to make it easier to demould your casting later.
Gently tap the casting mould so that the mixture is evenly distributed and any air bubbles come to the surface. You can then prick these with a lace object.
Time to dry:
Allow the casting compound to harden well. Follow the drying times specified in the instructions for the casting compound.
Work to finish:
You can now demould your casting. If the casting does not come off simply by dropping it, you can carefully loosen the mould all around with your fingers and tap it against the mould.
Good to know:
For detailed moulds, we recommend using a mould release agent or release wax to protect the mould.