- Spedizione gratuita da 75 € all'interno di Italia
- Reso semplice


 Spedizione gratuita da 75 €*
 Spedizione con Poste Italiane
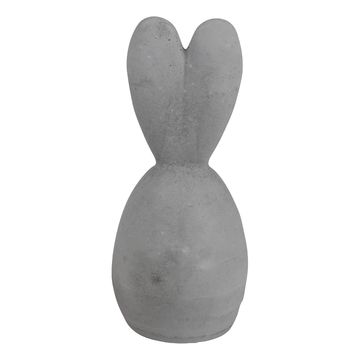
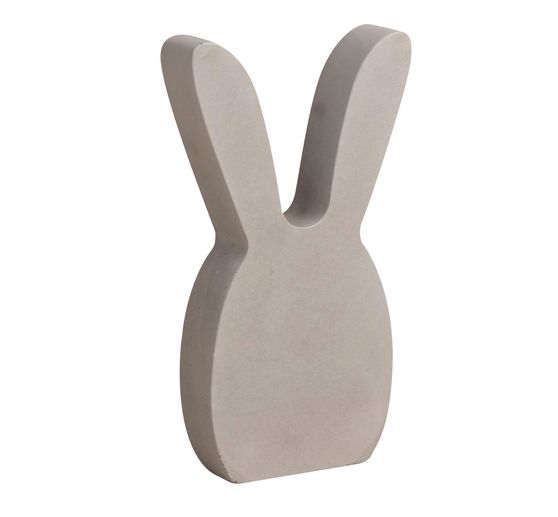
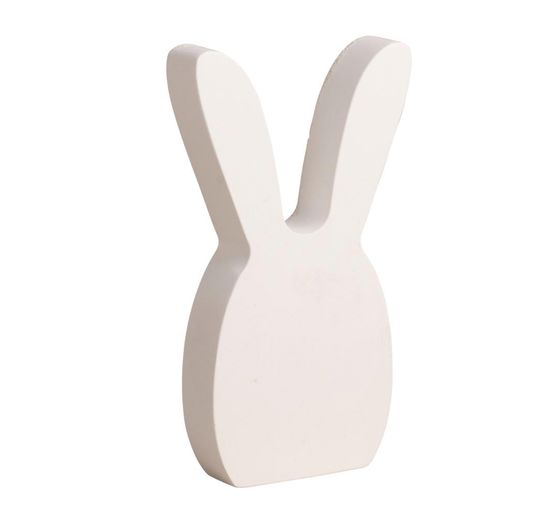
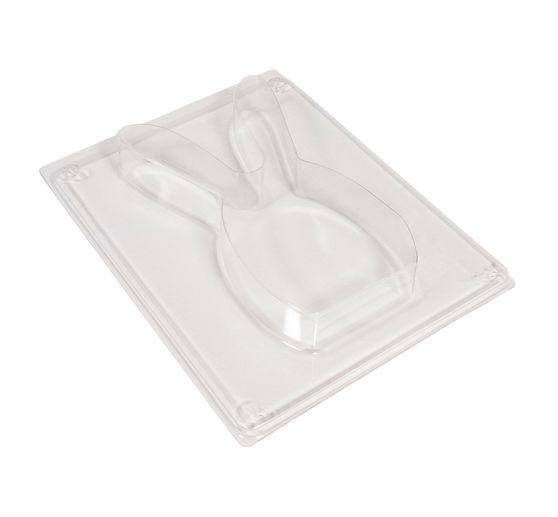
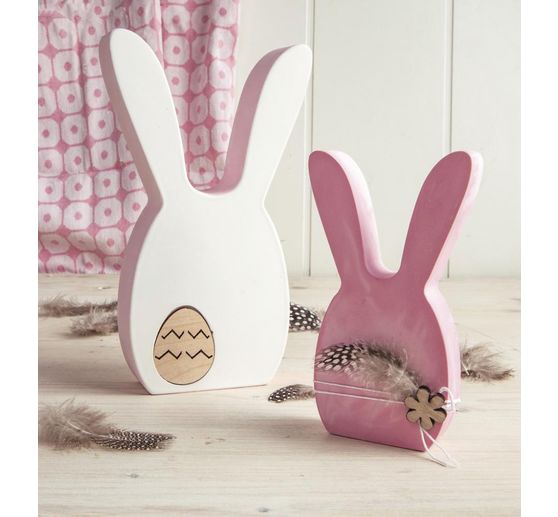
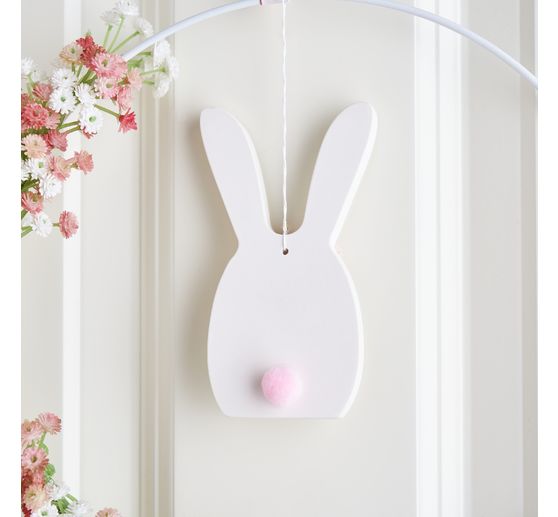
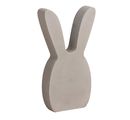
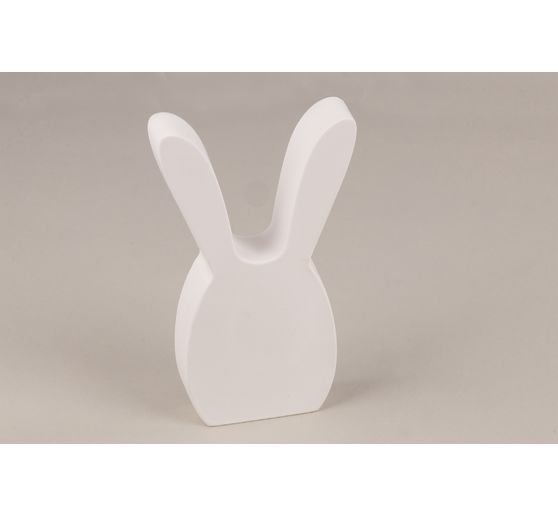
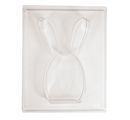
Crei bellissime decorazioni pasquali per la sua casa con lo stampo per colata "Bunny"!
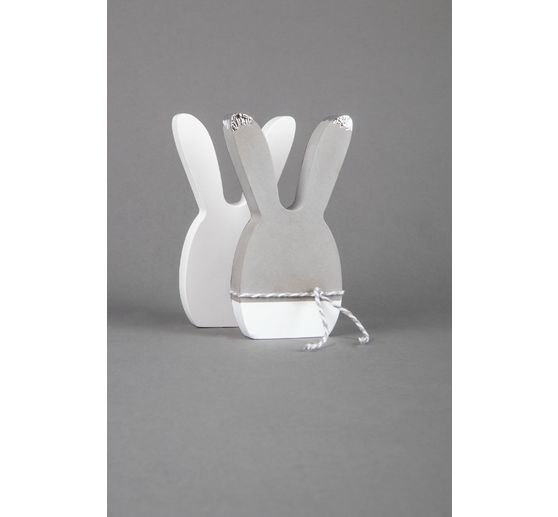
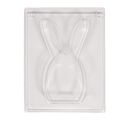
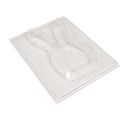
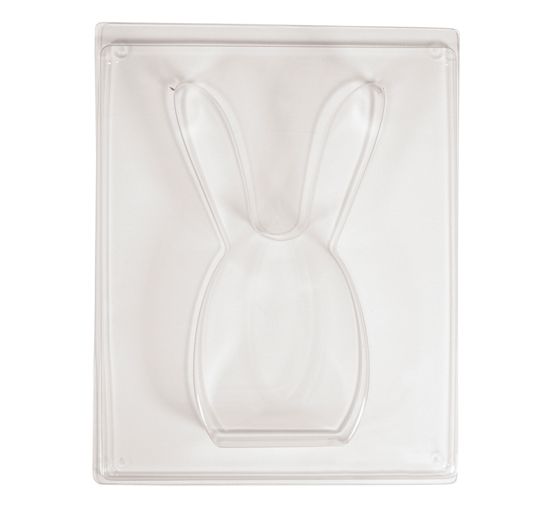
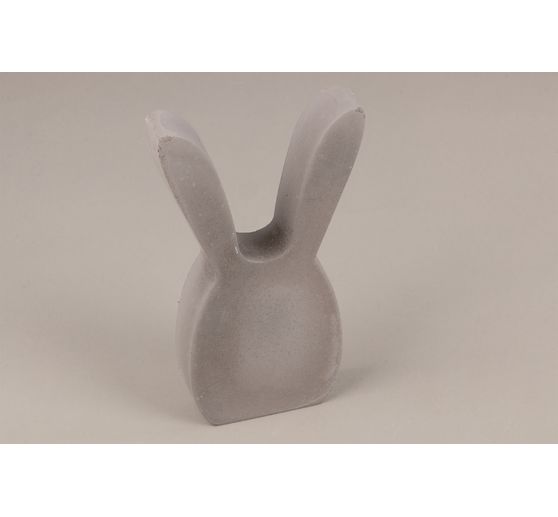
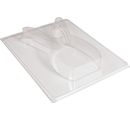
Con un'altezza di 12 cm e una larghezza di 6,8 cm , questo motivo è perfetto per tutti gli appassionati di artigianato e si adatta perfettamente a qualsiasi decorazione pasquale. Lo stampo per colata le permette di realizzare i suoi getti con la barbottina creativa o con il calcestruzzo. Con una capacità di riempimento di 110 ml, potrà completare le sue decorazioni pasquali in pochissimo tempo. Lo stampo per colata è largo 1,8 cm e lungo 12,3 cm.
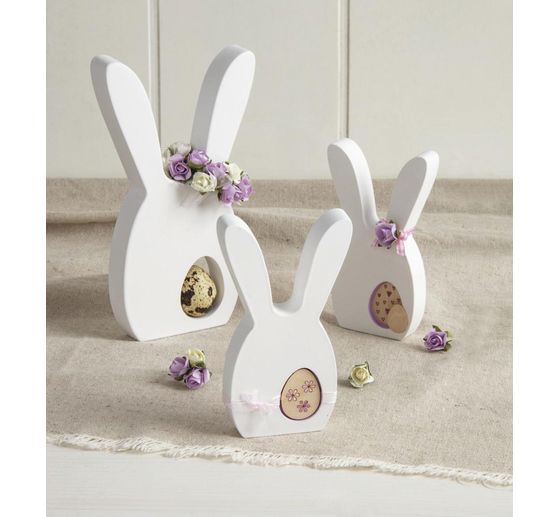
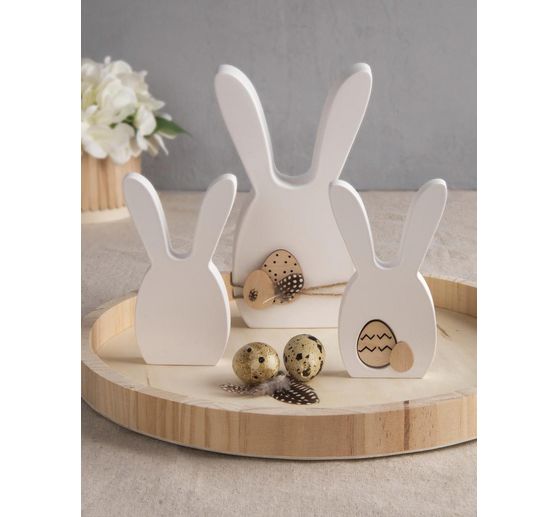
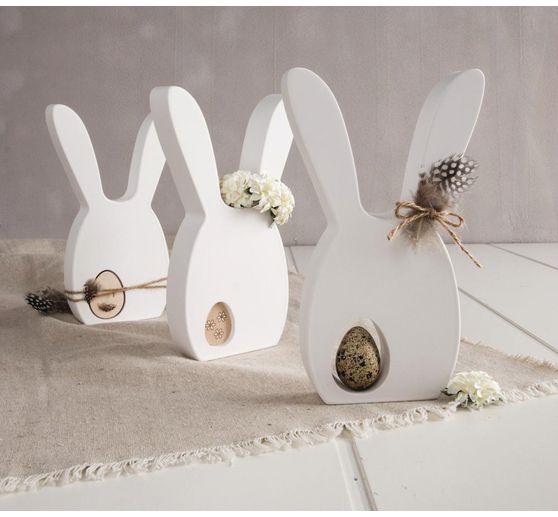
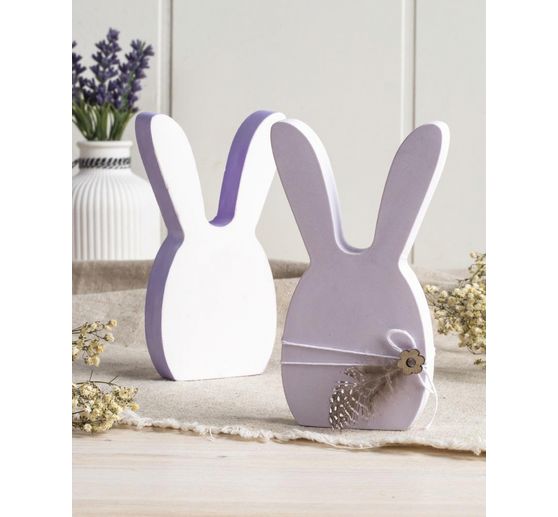
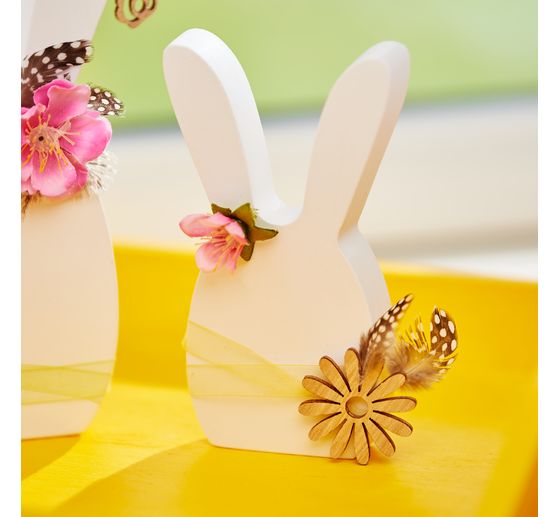
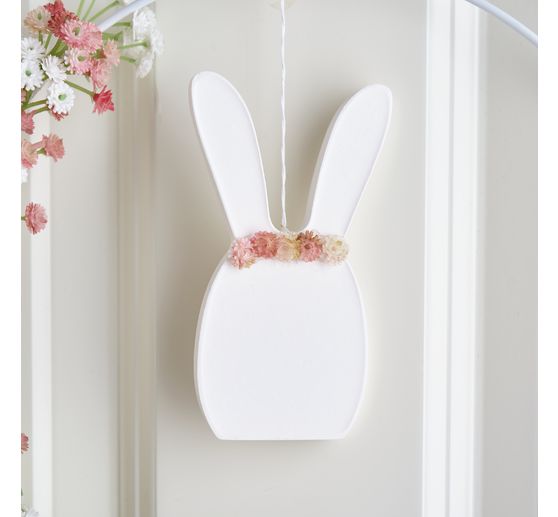
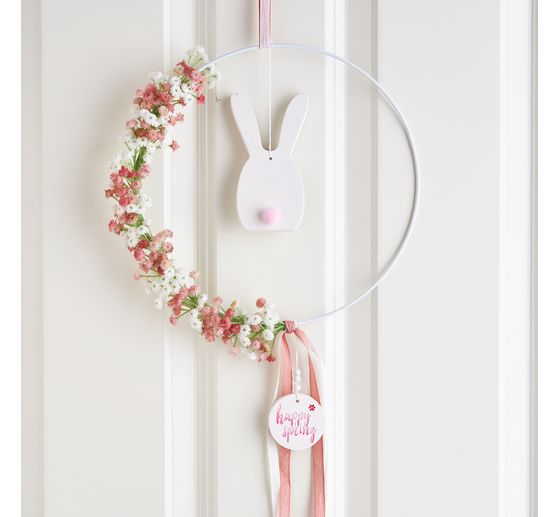
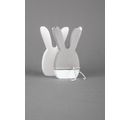
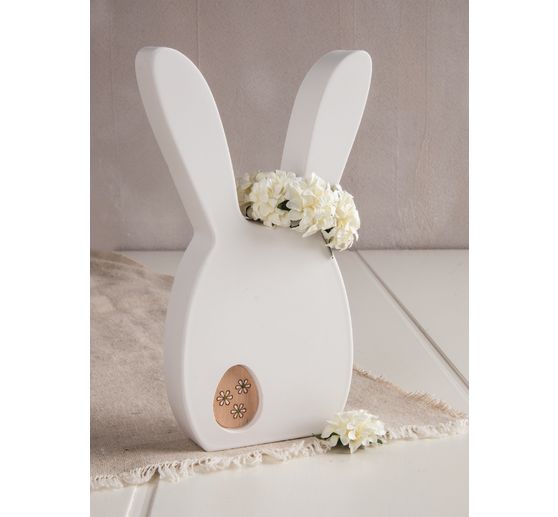
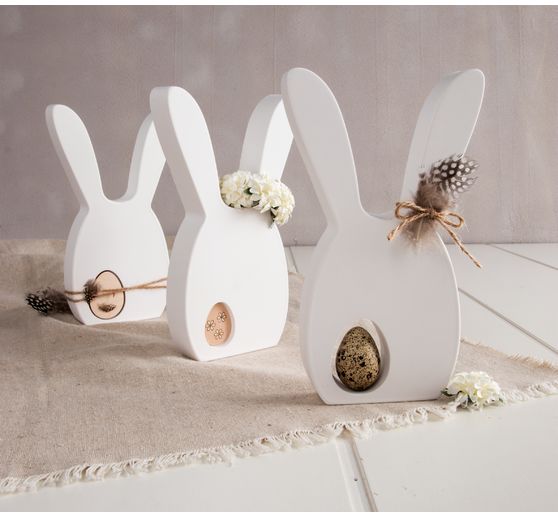
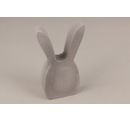
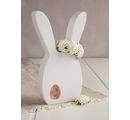
Può utilizzare gli stampi finiti come pendenti decorativi per i regali di Pasqua, come decorazioni per la tavola o come parte del suo giardino di Pasqua, ad esempio. Dia un tocco personale alle sue decorazioni pasquali e faccia brillare le sue creazioni in stile fai da te. Combini lo stampo per colata con altri motivi pasquali e dia forma ai suoi getti per un look personalizzato. Utilizzi lo stampo per colata in combinazione con i nostri composti di colata creativi o disegni i suoi coniglietti con fiocchi, colori o particelle di glitter.
Ordini subito lo stampo per colata 'coniglietto' e inizi il suo prossimo progetto artigianale per un'atmosfera pasquale perfetta!
Tips to use:
Preparations:
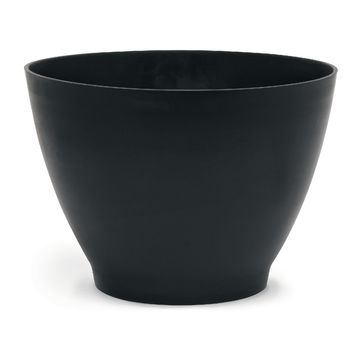
Mix the desired casting compound according to the instructions. If you wish, you can color it with color pigment powder.
Application:
Slowly pour the mixed casting compound into the casting mould. Leave a rim of at least 2 mm free to make it easier to demould your casting later.
Gently tap the casting mould so that the mixture is evenly distributed and any air bubbles come to the surface. You can then prick these with a lace object.
Time to dry:
Allow the casting compound to harden well. Follow the drying times specified in the instructions for the casting compound.
Work to finish:
You can now demould your casting. If the casting does not come off simply by dropping it, you can carefully loosen the mould all around with your fingers and tap it against the mould.
Good to know:
For detailed moulds, we recommend using a mould release agent or release wax to protect the mould.
Tips to use:
Preparations:
Mix the desired casting compound according to the instructions. If you wish, you can color it with color pigment powder.
Application:
Slowly pour the mixed casting compound into the casting mould. Leave a rim of at least 2 mm free to make it easier to demould your casting later.
Gently tap the casting mould so that the mixture is evenly distributed and any air bubbles come to the surface. You can then prick these with a lace object.
Time to dry:
Allow the casting compound to harden well. Follow the drying times specified in the instructions for the casting compound.
Work to finish:
You can now demould your casting. If the casting does not come off simply by dropping it, you can carefully loosen the mould all around with your fingers and tap it against the mould.
Good to know:
For detailed moulds, we recommend using a mould release agent or release wax to protect the mould.