- Secure order
- Easy return shipment
- Service-Hotline +39 02 3045 5879
Instructions No. 4021
Difficulty: Beginner
Working time: 1 hour 30 Minutes
Mixing the casting compound—the key to a smooth surface
Add 4 heaping tablespoons of KeraHobby or another casting compound to a mixing cup. Now gradually add water and stir everything thoroughly until a creamy, lump-free mixture forms. Adding the water slowly helps you control the consistency.
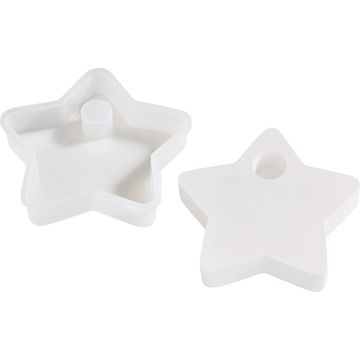
Pour into the “ silicone mould ” and release air bubbles
Pour the mixed casting compound evenly into the star-shaped mold. Then tap the mold lightly several times. This causes trapped air bubbles to rise to the surface, resulting in a smoother, more even finish—an important step if you want to cast a clean, modern kandelaar .
Demold at the Right Time
Let the mixture set for about 30–45 minutes, then carefully remove the star from the silicone mould. Silicone is flexible, so demolding is usually very easy. Still, work carefully to ensure the edges and candle opening remain intact.
Sanding the Edges—For a High-Quality Finish
Once the star is firm enough, sand down any rough edges and small imperfections until smooth. This not only makes it pleasant to the touch but also gives your Advent and winter decoration a much more professional look.
Stamping the star – permanently applying designs and messages
Choose a silicone stamp and place it on a stamp holder. Dab the stamp with a “ ink pads ” and then press it evenly onto the star. This creates a clear impression that personalizes your cast decoration. For the tag, choose a lettering design, stamp it onto a tag element of your choice, and let the stamp ink dry briefly.
Cleaning Stamps—So They Stay Precise for a Long Time
Clean your silicone stamps with stamp cleaner immediately after stamping. This keeps fine lines free of ink residue, so you can use the stamps again for your next craft project—clean and with all their fine details intact.
Attaching a decorative twig—an elegant accent for Advent and winter
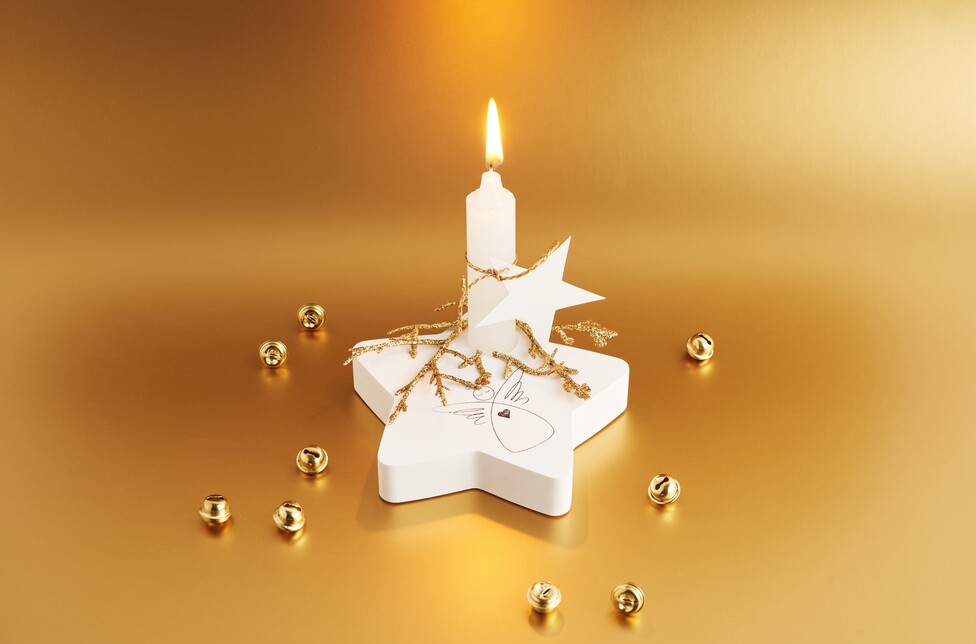
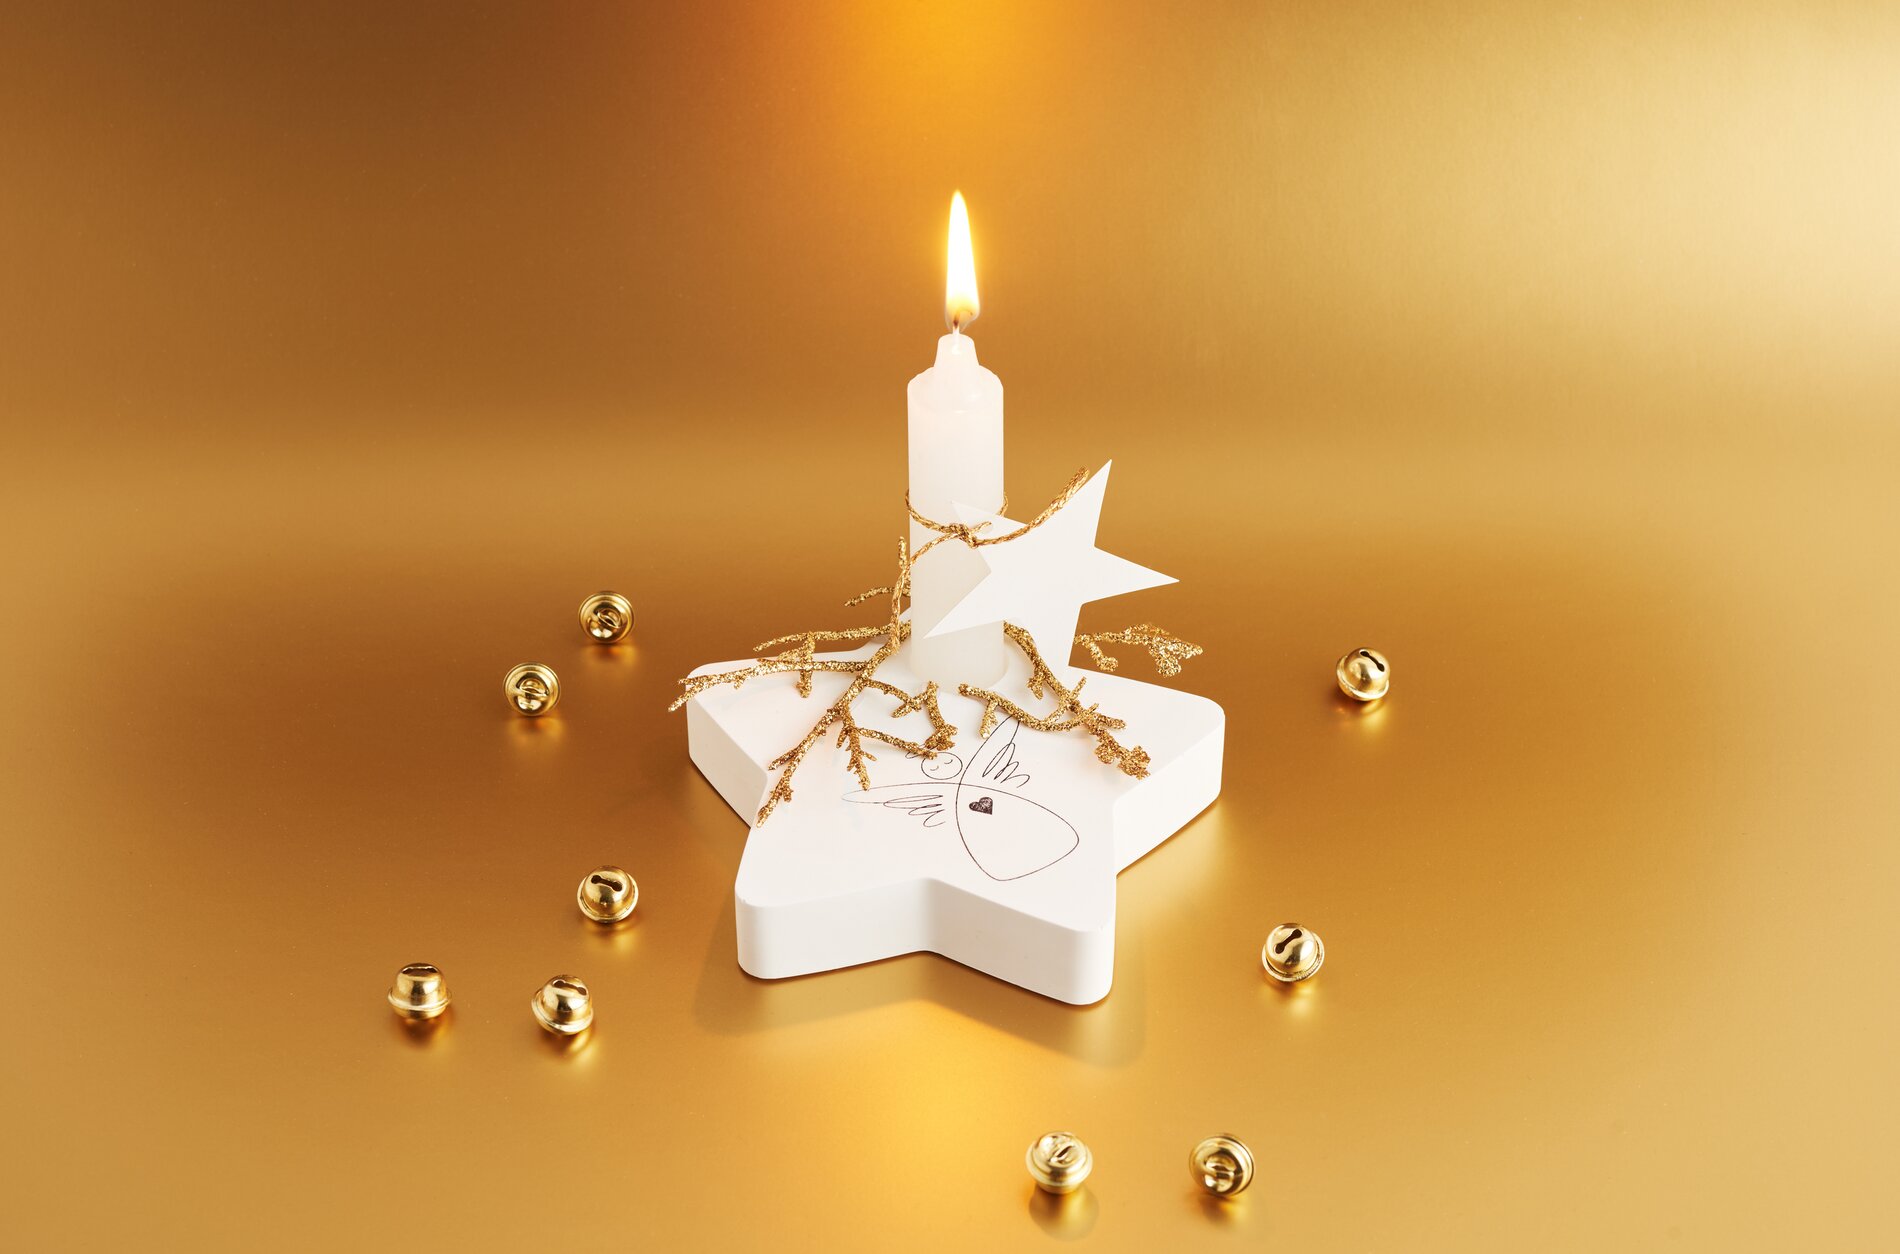
Cut a small piece from the decorative twig and glue it to the star with a bit of hot glue. The combination of matte casting compound and the twig’s texture creates a particularly festive and timeless look.
Insert the candle and attach the tag
Place a wax disc in the candle opening. This ensures the candle stands securely and can be removed more easily if needed. Place the candle firmly on top. Now tie the stamped tag around the candle with gold string so that the lettering remains clearly visible and the overall look is calm and harmonious.
Now it’s your turn
If you’re looking for more DIY-ideas for casting with KeraHobby, stamping, and Advent decorations, stop by our online shop and discover the perfect molds, stamps, and decorative details for your next project.