- Secure order
- Easy return shipment
- Service-Hotline +39 02 3045 5879
Instructions No. 4007
Difficulty: Beginner
Working time: 2 Hours 30 Minutes
Make Snowman Figures from polystyrene balls
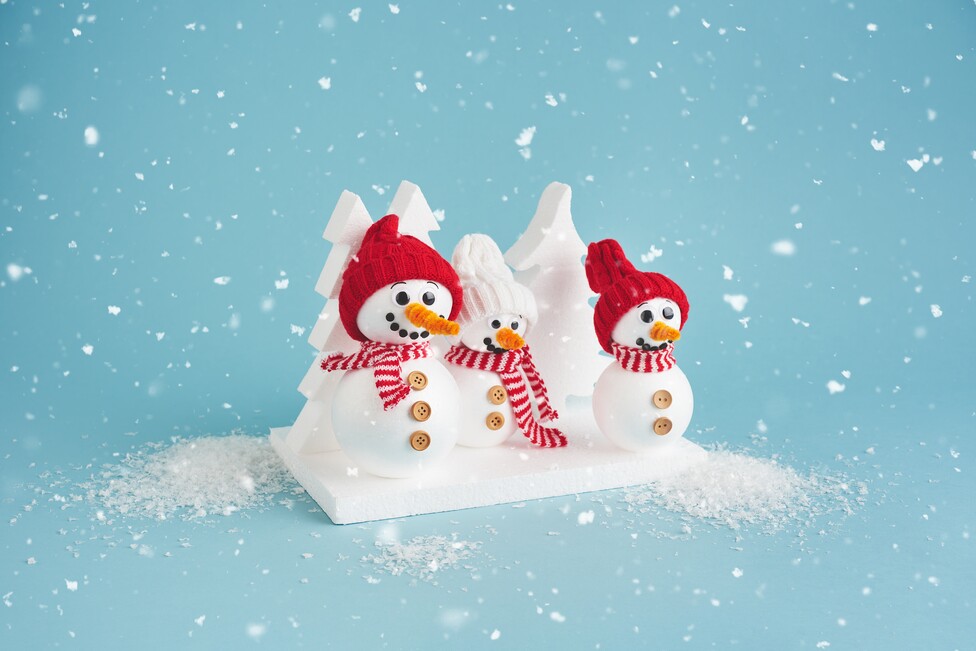
For this winter decoration, build small snowmen out of polystyrene balls and then arrange them as a scene on a polystyrene sheet. This quickly creates a lightweight, sturdy eye-catcher that also works well as a table decoration or windowsill decoration.
1) Connect the balls and shape the snowman
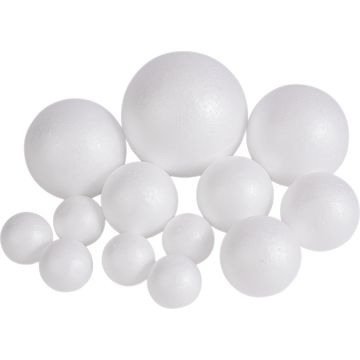
For each snowman, you’ll need two polystyrene balls: —one larger one for the belly and one smaller one for the head. Cut a bamboo skewer into pieces about 2 cm long. Insert one piece into the center of the small ball and apply handicraft glue both to the skewer and to the puncture site in the polystyrene. Now press the other end of the skewer piece into the large ball and push both balls firmly together. The skewer acts like a dowel: it stabilizes the connection so that the snowman doesn’t wobble later when you’re decorating and setting it up. Repeat this step for additional snowmen and let the glue dry thoroughly.
2) Designing the Face: Eyes, Mouth, and Eyebrows
Once the balls are firmly attached, glue the eyes onto the head. To create the classic snowman mouth, use a standard hole punch to punch out small circles from foam sheets . Glue these on as mouth dots using handicraft glue . You can also use a Posca marker to draw fine eyebrows. The marker provides good coverage over polystyrene and instantly adds expression to the face without requiring much drawing.
3) Attach the nose made from chenille wire
For the carrot nose, take orange chenille wire and wrap it tightly around a pen to create a slightly conical, spiral shape. Bend the end straight for a short distance. Use a bamboo skewer to poke a hole in the desired spot on the face, put a little “ handicraft glue ” into the opening, and insert the “ chenille wire .” This ensures the nose stays securely in place and keeps its shape even with light touch.
4) Add buttons and winter accessories
Glue buttons onto the belly until the proportions look right to you. Then tie a knitted tube around the “neck” between the head and the belly as a scarf. The scarf hides the ball seam and makes the figure look softer. Finally, put a little hat on top so the snowman immediately looks wintery.
5) Build a winter landscape: Prepare the “ polystyrene sheet ”
Trim the polystyrene sheet to your liking using a ruler and a craft knife. Work with steady cuts and light pressure to keep the edges clean. To ensure the snowmen stand stably, cut a small, straight surface off the bottom of each figure. This base prevents the snowmen from rolling on the board and makes it easier to glue them in place later.
6) Arrange the scene and glue it in place
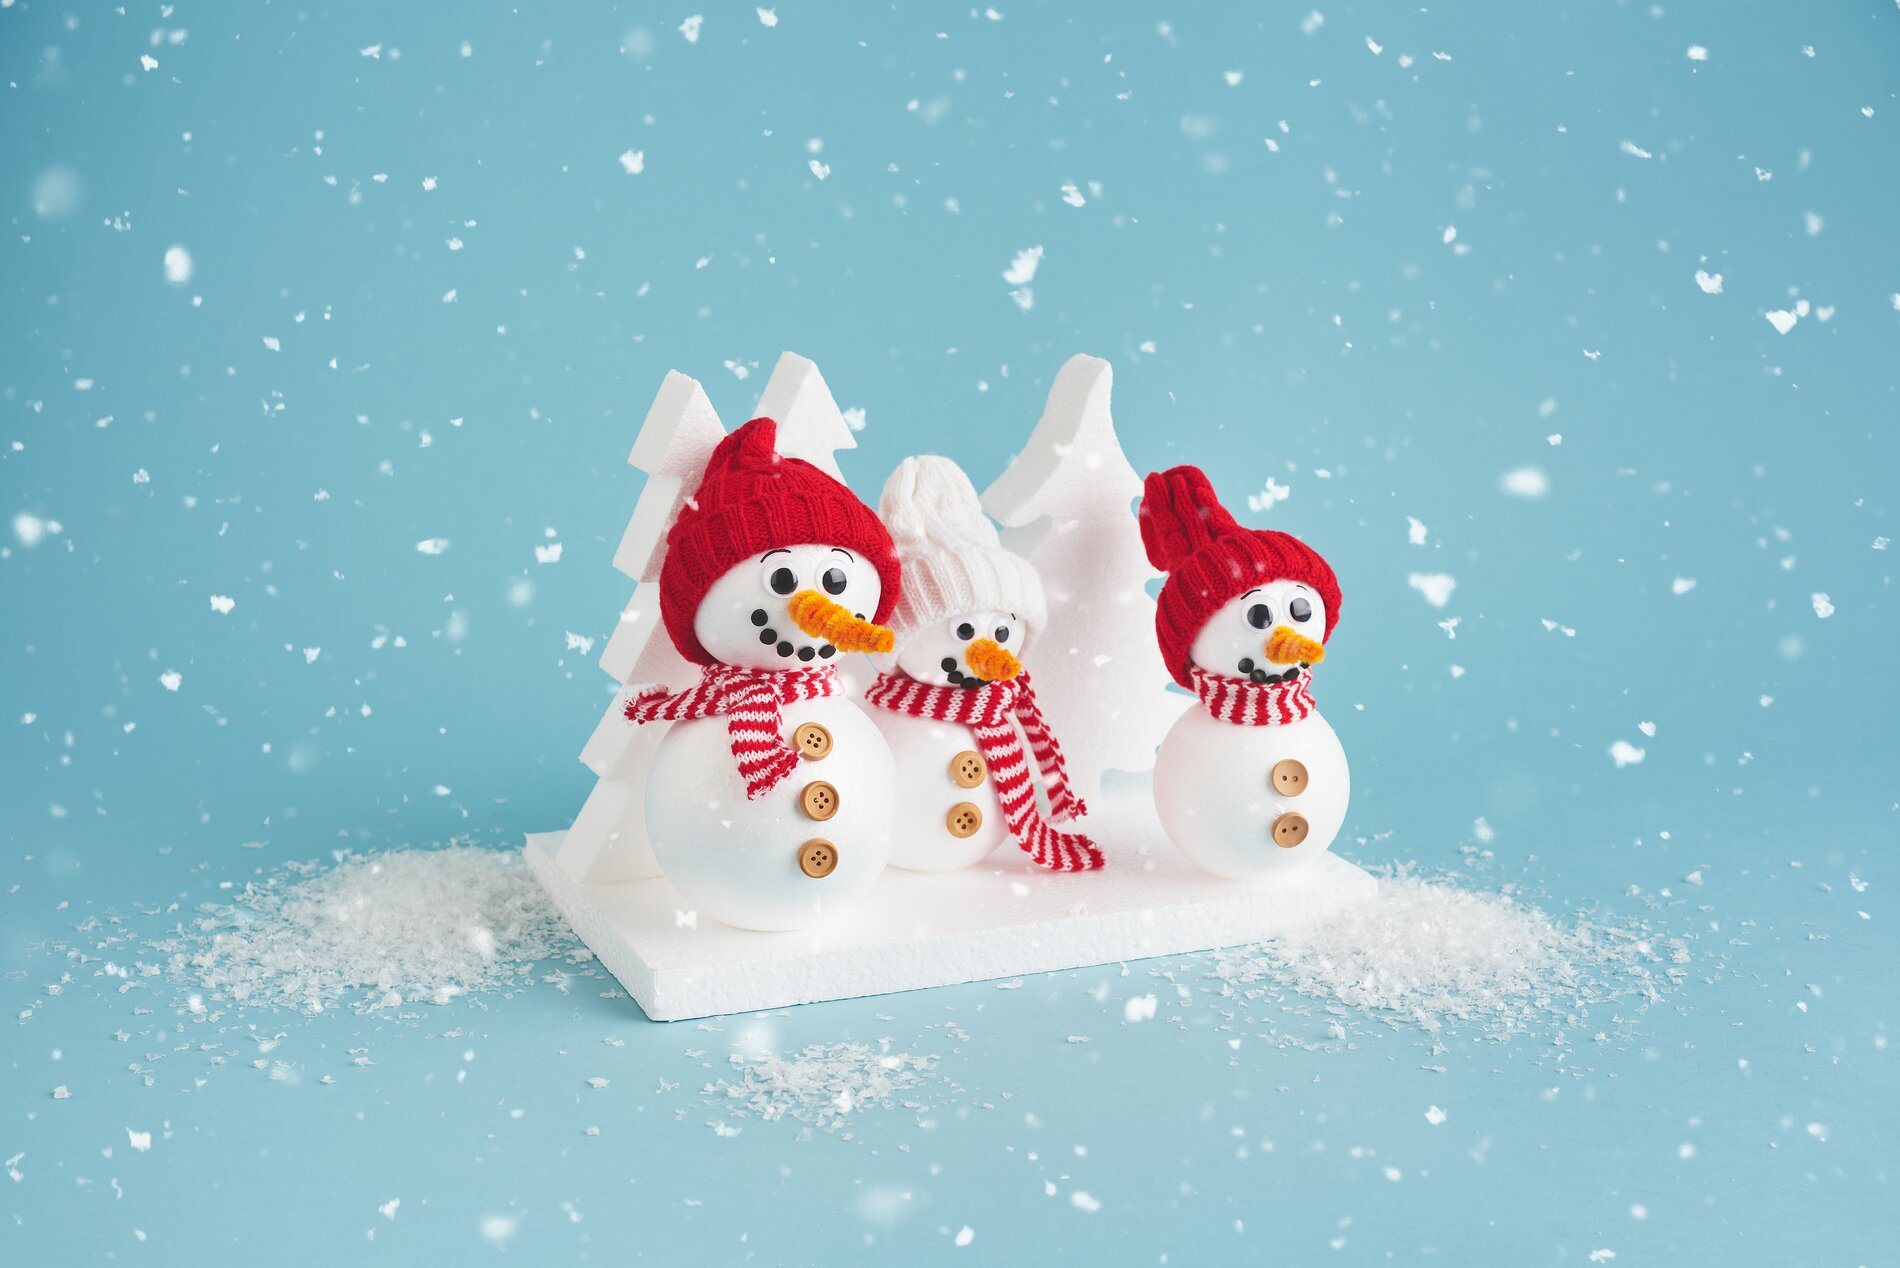
First, position the snowmen and fir trees without glue until you’re happy with the composition. Then glue everything onto the “ polystyrene sheet. ” using “ handicraft glue .” Press each piece down briefly and give the glue enough time to dry before moving the scene. This will ensure your wintery “ polystyrene-” decoration remains stable and looks neatly finished.
Finishing and Decorating
Let everything dry completely, then display the snowman scene as winter decor in your home. If you’re now inspired to try more craft ideas using polystyrene balls, foam sheets and winter accessories, you’ll find the right materials for your next project in the online shop.