- Secure order
- Easy return shipment
- Service-Hotline +39 02 3045 5879
Instructions No. 4093
Difficulty: Challenging
Working time: 2 Hours
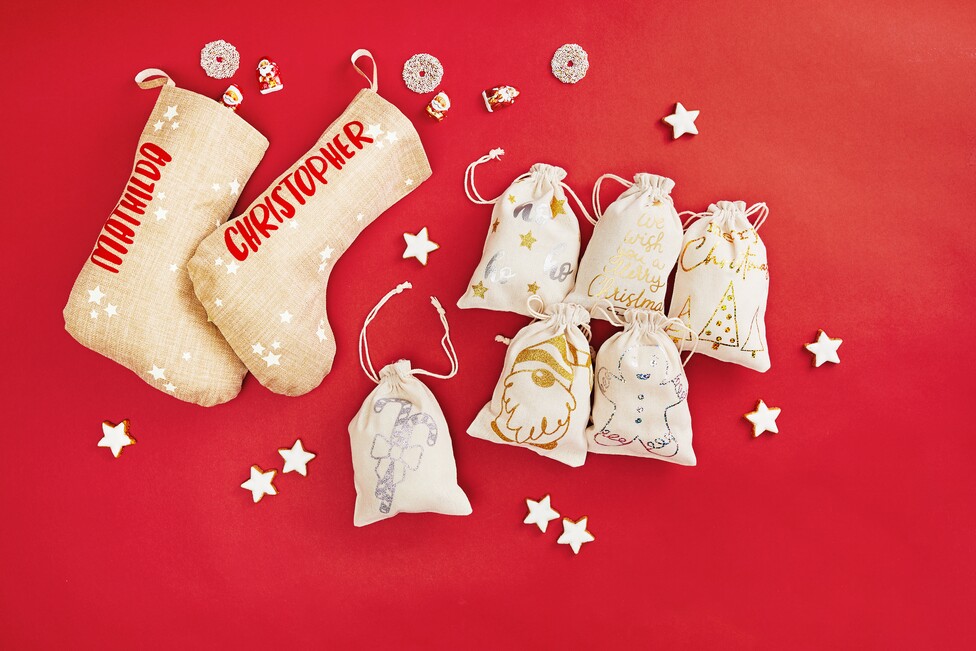
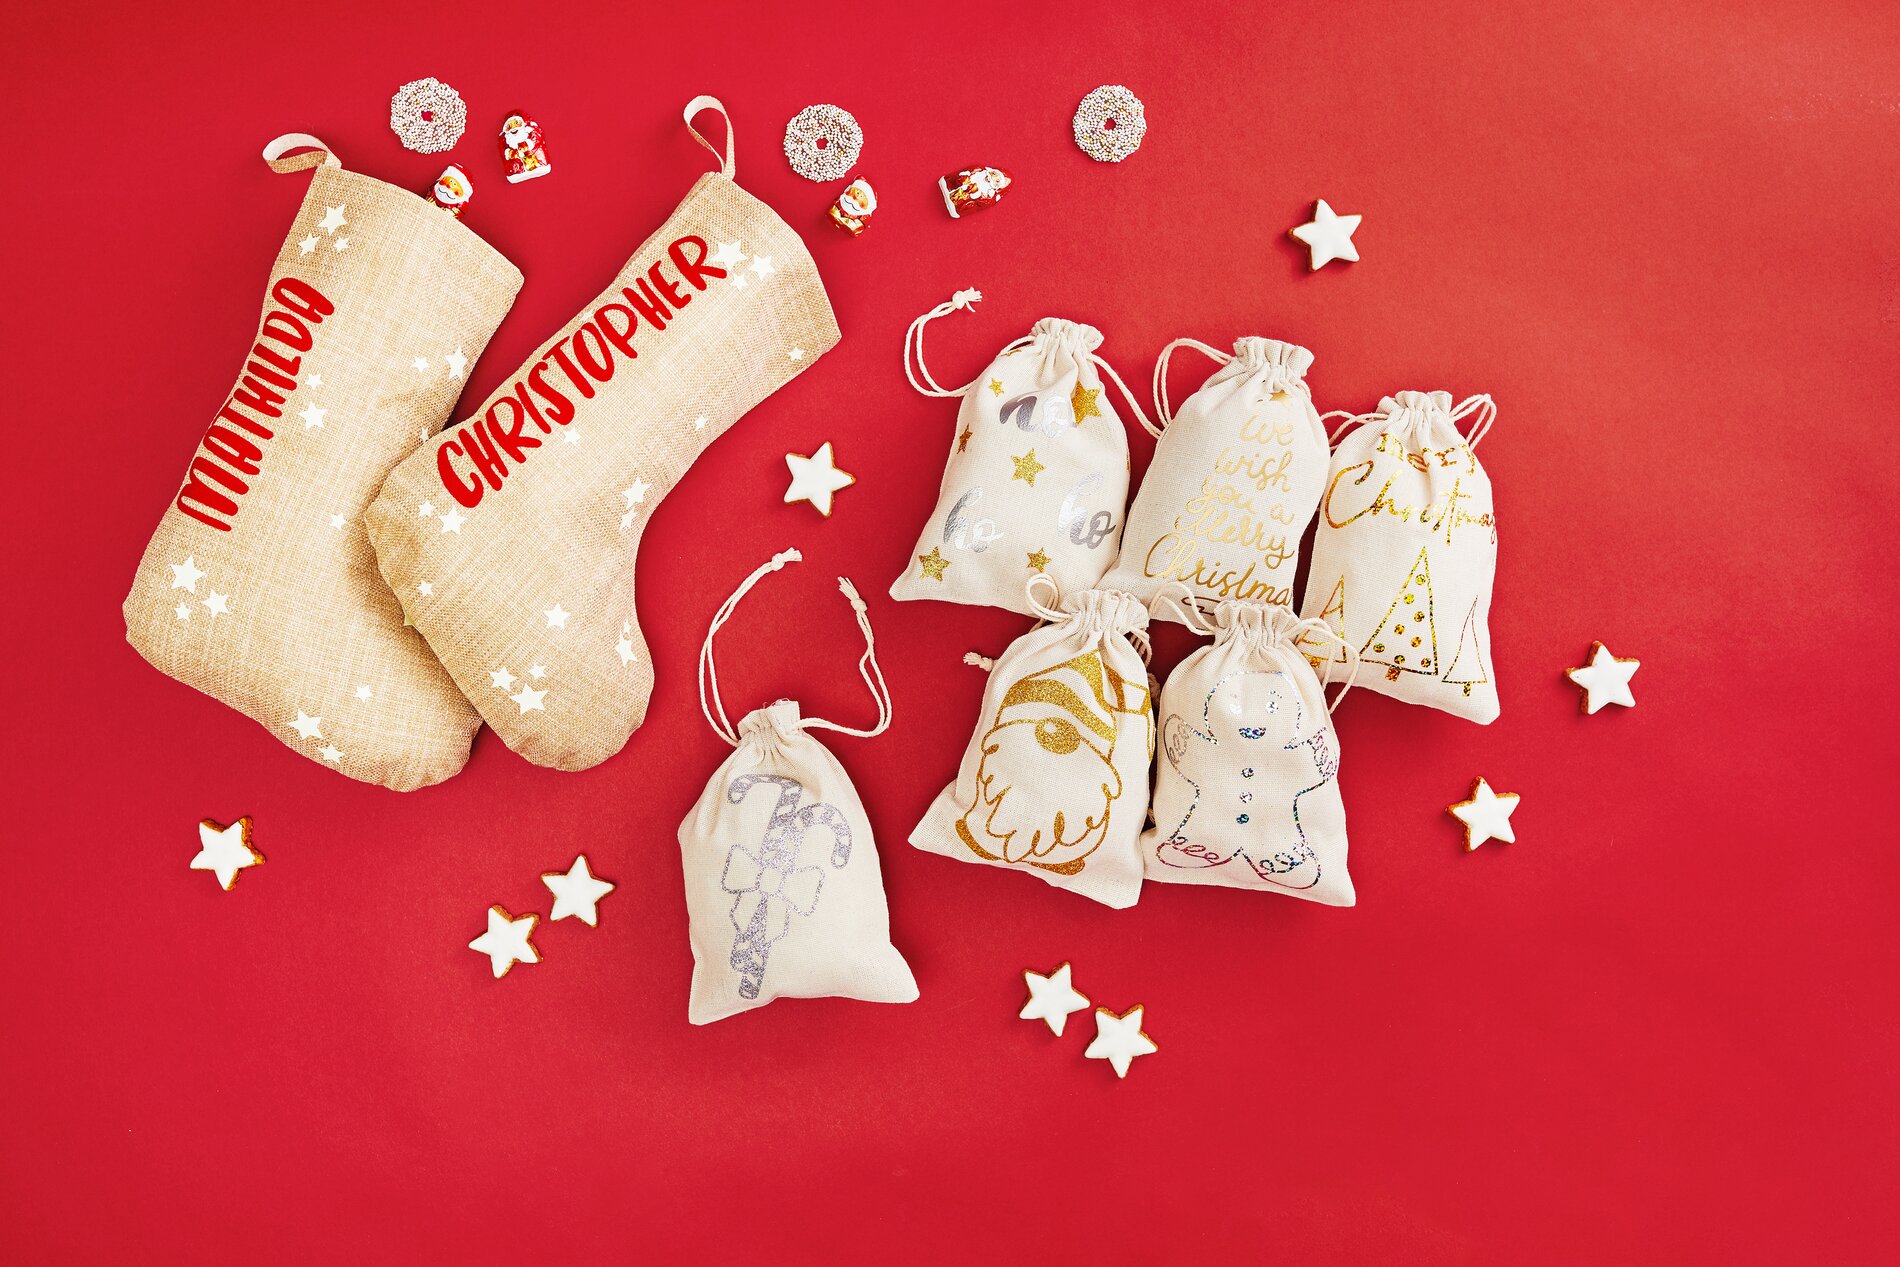
Design and Heat-Press a Christmas Stocking with Iron-On Transfer
To get started, first download the provided SVG file to your computer. Then open the Cricut Design Space program, which you’ll use to design and edit the motifs. In the upper-left corner, you’ll find the workspace. Click “Upload” in the left sidebar and import the SVG file you downloaded earlier. The file contains all the designs that will later be plotted onto the “ christmas balls .”
Break down the designs so you can edit them flexibly
Once the SVG file appears in the workspace, select all elements of the file in the workspace and choose “Explode” from the “Layer” menu. This step separates the designs into individual components. This is important because you can then adjust each element separately—for example, if you want to reposition text or resize a specific part of a design.
Combining designs
After the designs have been broken down, you can select each design individually. Then click “Merge” so that all related elements are recombined into a single, cohesive design and are processed correctly during plotting.
Adjust Size and Set Layout
Select each design and, under “Edit,” adjust the size so that it fits the surface area of your sock. Use the location where the design will eventually be placed—such as on the shaft or the foot section—as a guide. Once everything is in order, click “Produce” in the upper right corner. This permanently locks the arrangement on the cutting mat. This prevents your layout from being awkwardly distributed after cutting, which would require you to rearrange it later during heat transfer.
Preparing for Plotting: Choose Your Material and Don’t Forget to Mirror
Carefully check the designs on the mat one more time. Then select the appropriate material for your iron-on transfer. Very important: Mirror the design before cutting.
The iron-on transfer is cut from the back so that the lettering appears the right way up after transfer. Place the film with the adhesive side facing up on the cutting mat so that the transparent backing film is on the bottom. This keeps the backing film intact during cutting and allows you to transfer the design cleanly later.
Start plotting and keep an eye on the cut
Start the plotting process in Cricut Design Space. Stay with it for a moment, especially at the beginning. If the film comes loose at a corner or isn’t adhering properly, you can react immediately. This saves material and ensures clean edges, which is especially important for lettering on textiles.
Weeding: Removing Excess Film
After cutting, remove the pieces of film that aren’t part of the design. This step is called “weeding.” Take your time with this, especially with fine lettering or small details. The actual design remains on the transparent backing sheet. This backing sheet will help you position the design on the sock because it keeps everything stable.
Pressing the Design onto the Christmas Sock
Preheat your heat press to the temperature recommended for the iron-on film you’re using. Lay the Christmas sock flat and carefully smooth out any wrinkles so the film adheres evenly later. Position the design with the backing sheet facing up in the desired spot. Then press it on using the recommended pressure and for the appropriate amount of time. The purpose: Heat and pressure cause the transfer foil’s adhesive to bond permanently with the fabric, ensuring your plotter design stays securely in place even when you’re filling and decorating the sock.
Personalize with Names or Short Messages
If you want to make the sock even more personalized, create your own text in the Cricut Design Space program—for example, with a name. Make sure the text is clearly legible and position it so that it doesn’t distort at seams or sharp curves. For longer names, it often looks more balanced if you scale the letters slightly narrower or adjust the text to follow a gentle curve.
Finishing and Creative Filling
After heat pressing, let the vinyl cool briefly, then peel off the backing according to the vinyl’s instructions. Now you can fill your Christmas stocking with small gifts, candy, or decorative surprises. If you’re still looking for the right iron-on film, plotter accessories, or other undecorated products , check out our online shop and put together everything you need for your next plotting and heat-pressing project.