- Secure order
- Easy return shipment
- Service-Hotline +39 02 3045 5879
Instructions No. 4095
Difficulty: Advanced
Working time: 6 Hours
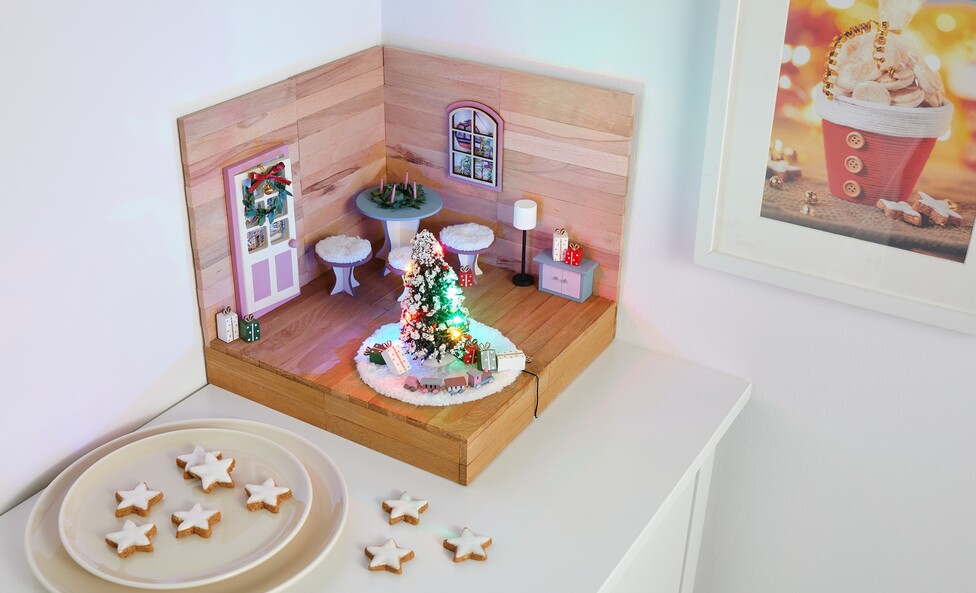
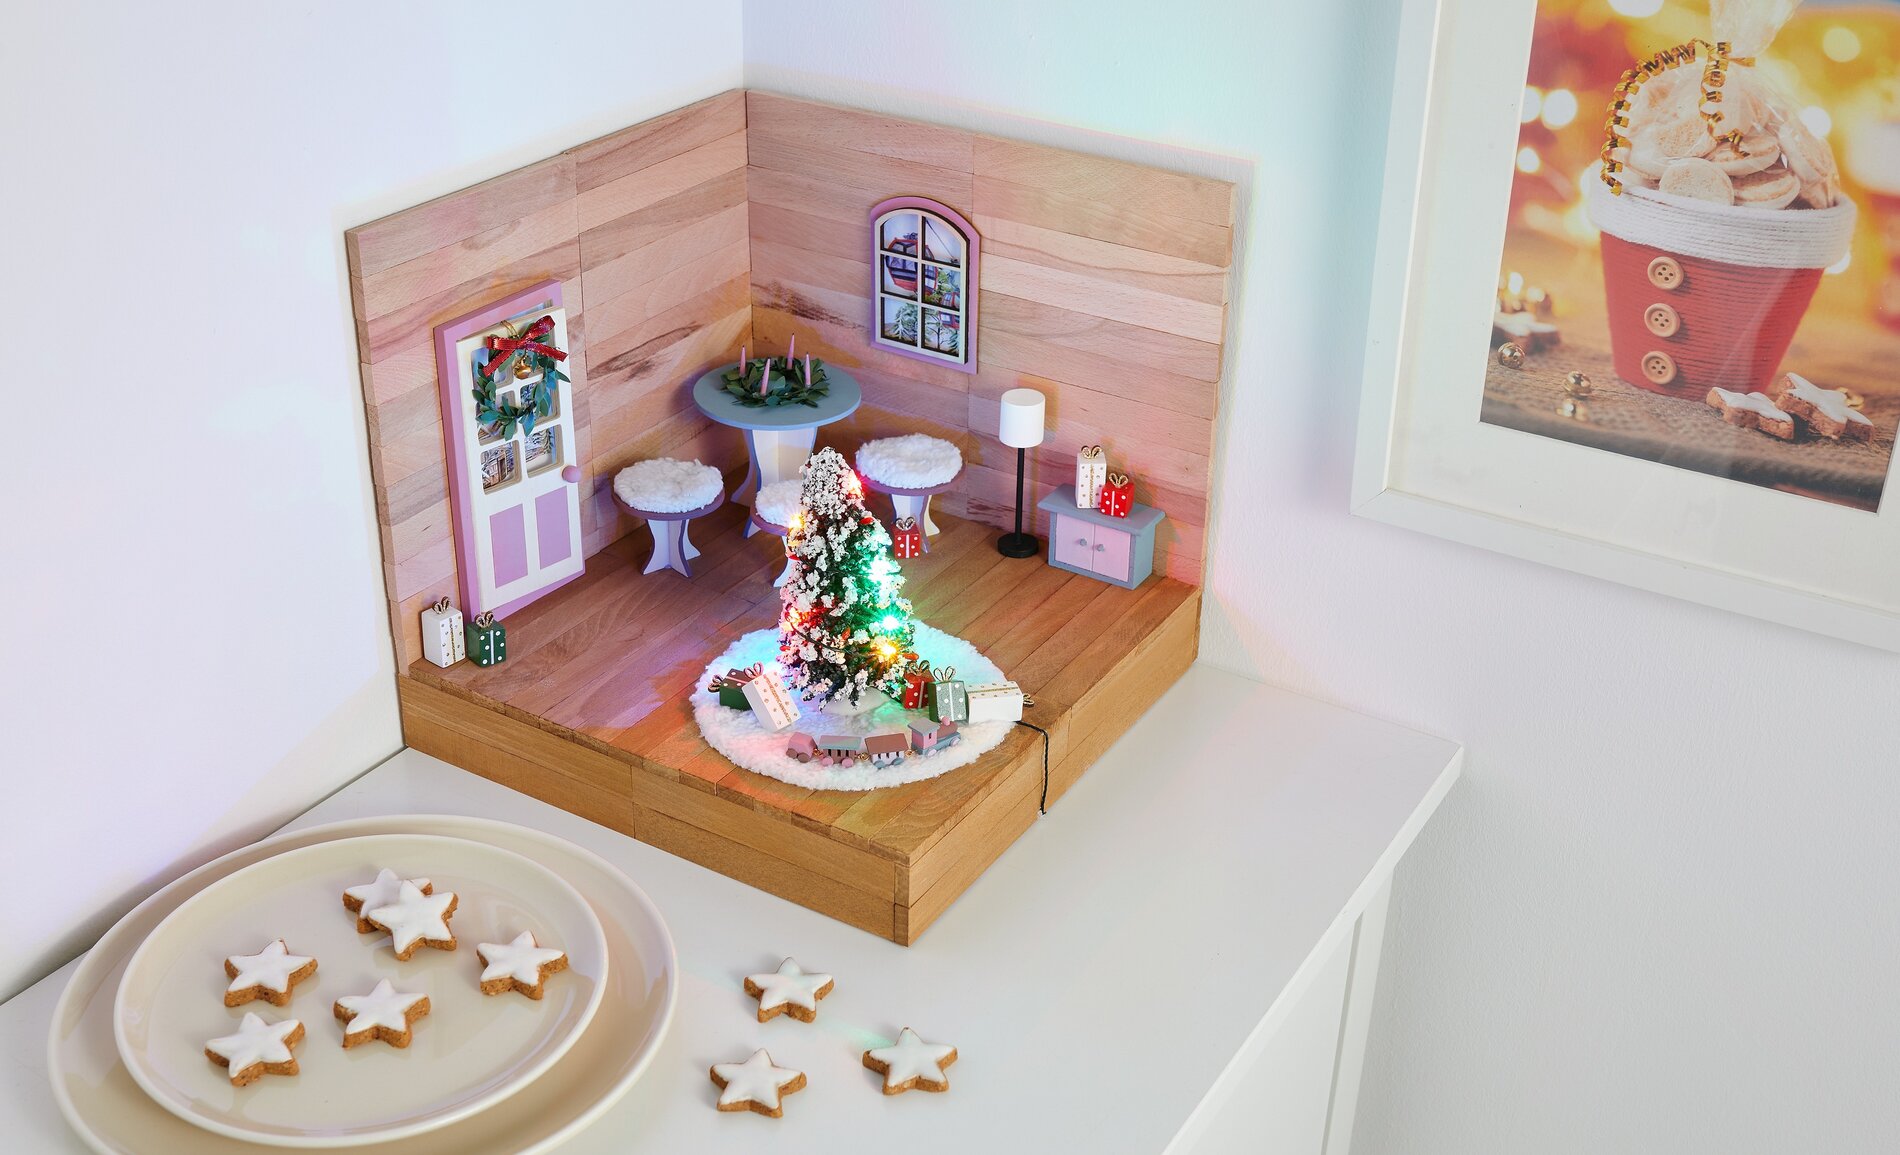
Building a Miniature Winter Room: Designing the Platform, Walls, and Floor
First, decide how big you want your miniature room to be. Then build a sturdy platform out of craft blocks by arranging them close together and gluing them in place with handicraft glue . Work in rows to keep the surface level so it looks like a real wooden floor later on. Repeat the same process for the walls. If you want a raised platform, glue small blocks underneath the floor panel to serve as feet—this makes the scene look like a small framed diorama and adds more depth.
Staining the Base Plate
Mix the paint with a little water until it’s thin. This diluted paint acts like a glaze: the wood grain remains visible, and the floor takes on a soft tint instead of an opaque coat of paint. Apply the glaze quickly and brush in one direction so the surface looks smooth. Let everything dry thoroughly before continuing so that nothing sticks to the base later.
Assembling the Walls: Clean Edges for Your Miniature Diorama
Now glue the walls and the base plate together. Align the walls at right angles and hold them in place briefly until the glue sets.
Cutting out the rug and seat cushions: soft accents in miniature format
Cut three smaller circles from fabric for the seat cushions and one larger circle for the rug. To ensure the circles are neat, you can create templates from Paper .
Painting the furniture: Give the seating set a winter look
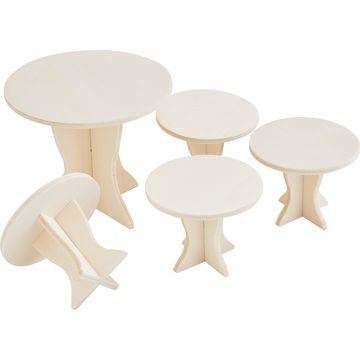
Paint the furniture to your liking. Let the paint dry completely before touching or placing the pieces—this will keep the edges clean and prevent any smudges.
Miniature Advent wreath
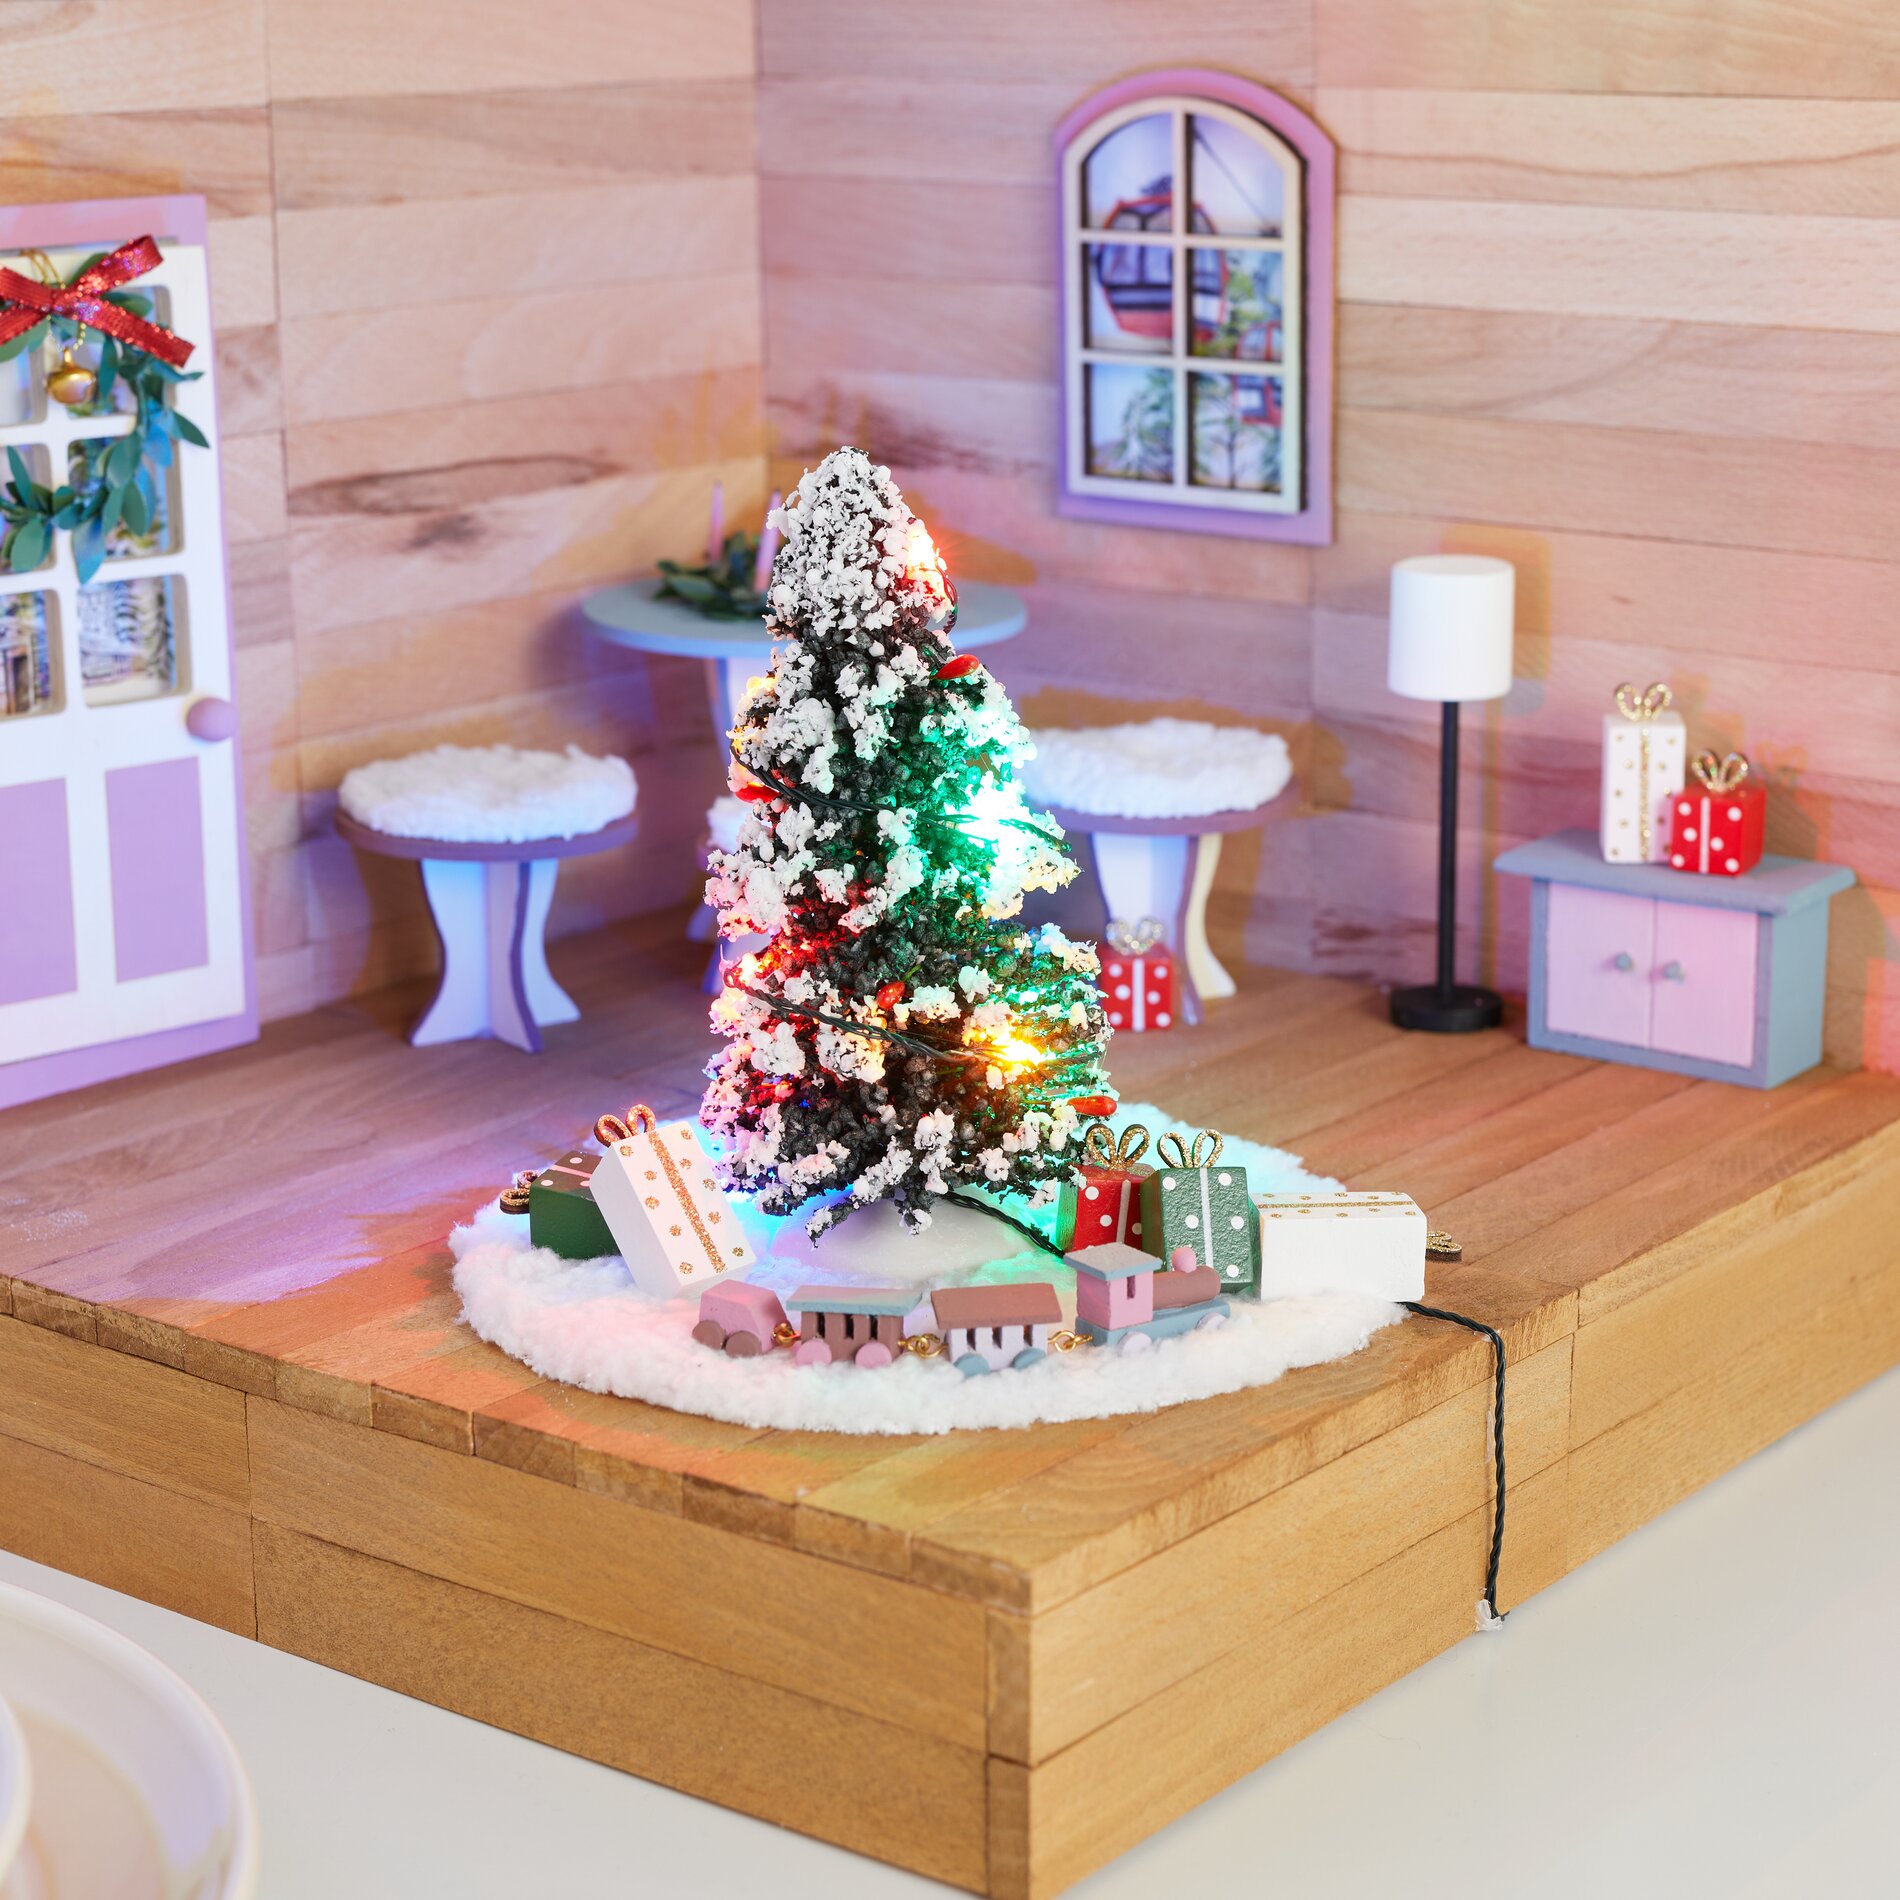
To make the small Advent wreath, first remove the bows and bells from two small Christmas wreaths. Then glue the two wreaths on top of each other using hot glue. Cut the “ lace ” off four bamboo skewers, paint the sticks, and then glue them to the wreath like Advent candles. With just a little effort, you’ll create a clearly recognizable Christmas detail in miniature format.
Windows and Doors with napkin technique
Roughly cut out the desired section of the napkin and peel off the unprinted layers so that only the printed, wafer-thin layer remains. Apply a thin layer of napkin varnish to the cardboard, carefully place the napkin on top, and smooth it gently from the inside out. This will push out any air bubbles and prevent wrinkles. Then apply another thin coat of napkin varnish and let everything dry completely. Next, cut out the design neatly and glue it behind a window or door—this will instantly give your miniature walls character and a cozy look.
Placing Decorations and Final Assembly: Setting Up the Scene
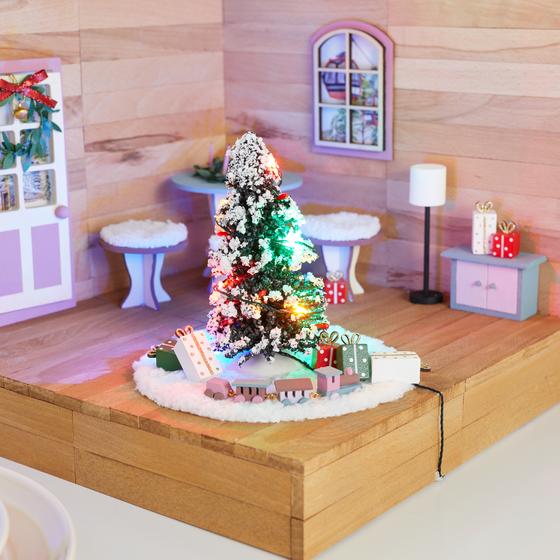
Now place the furniture and decorative elements in the desired locations. Start with the larger pieces to ensure the proportions are correct, then add rugs, seat cushions, and small accents. Finally, attach the windows and doors to the walls using hot glue.
If you’re looking for more winter-themed miniature ideas, check out our online shop and discover the perfect craft supplies, paints, and decorations for your next diorama project.