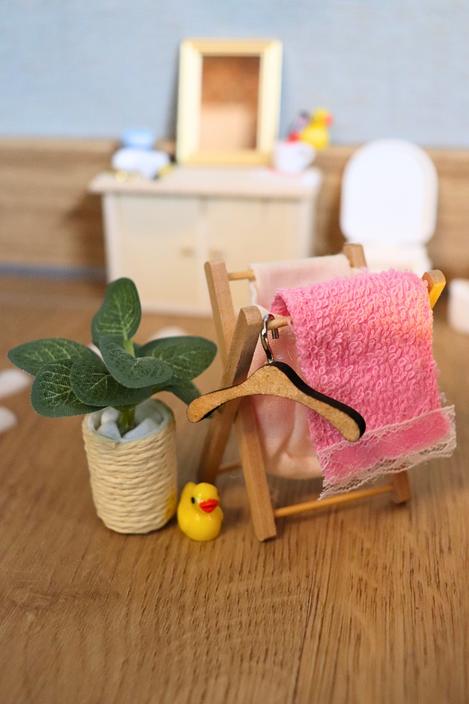
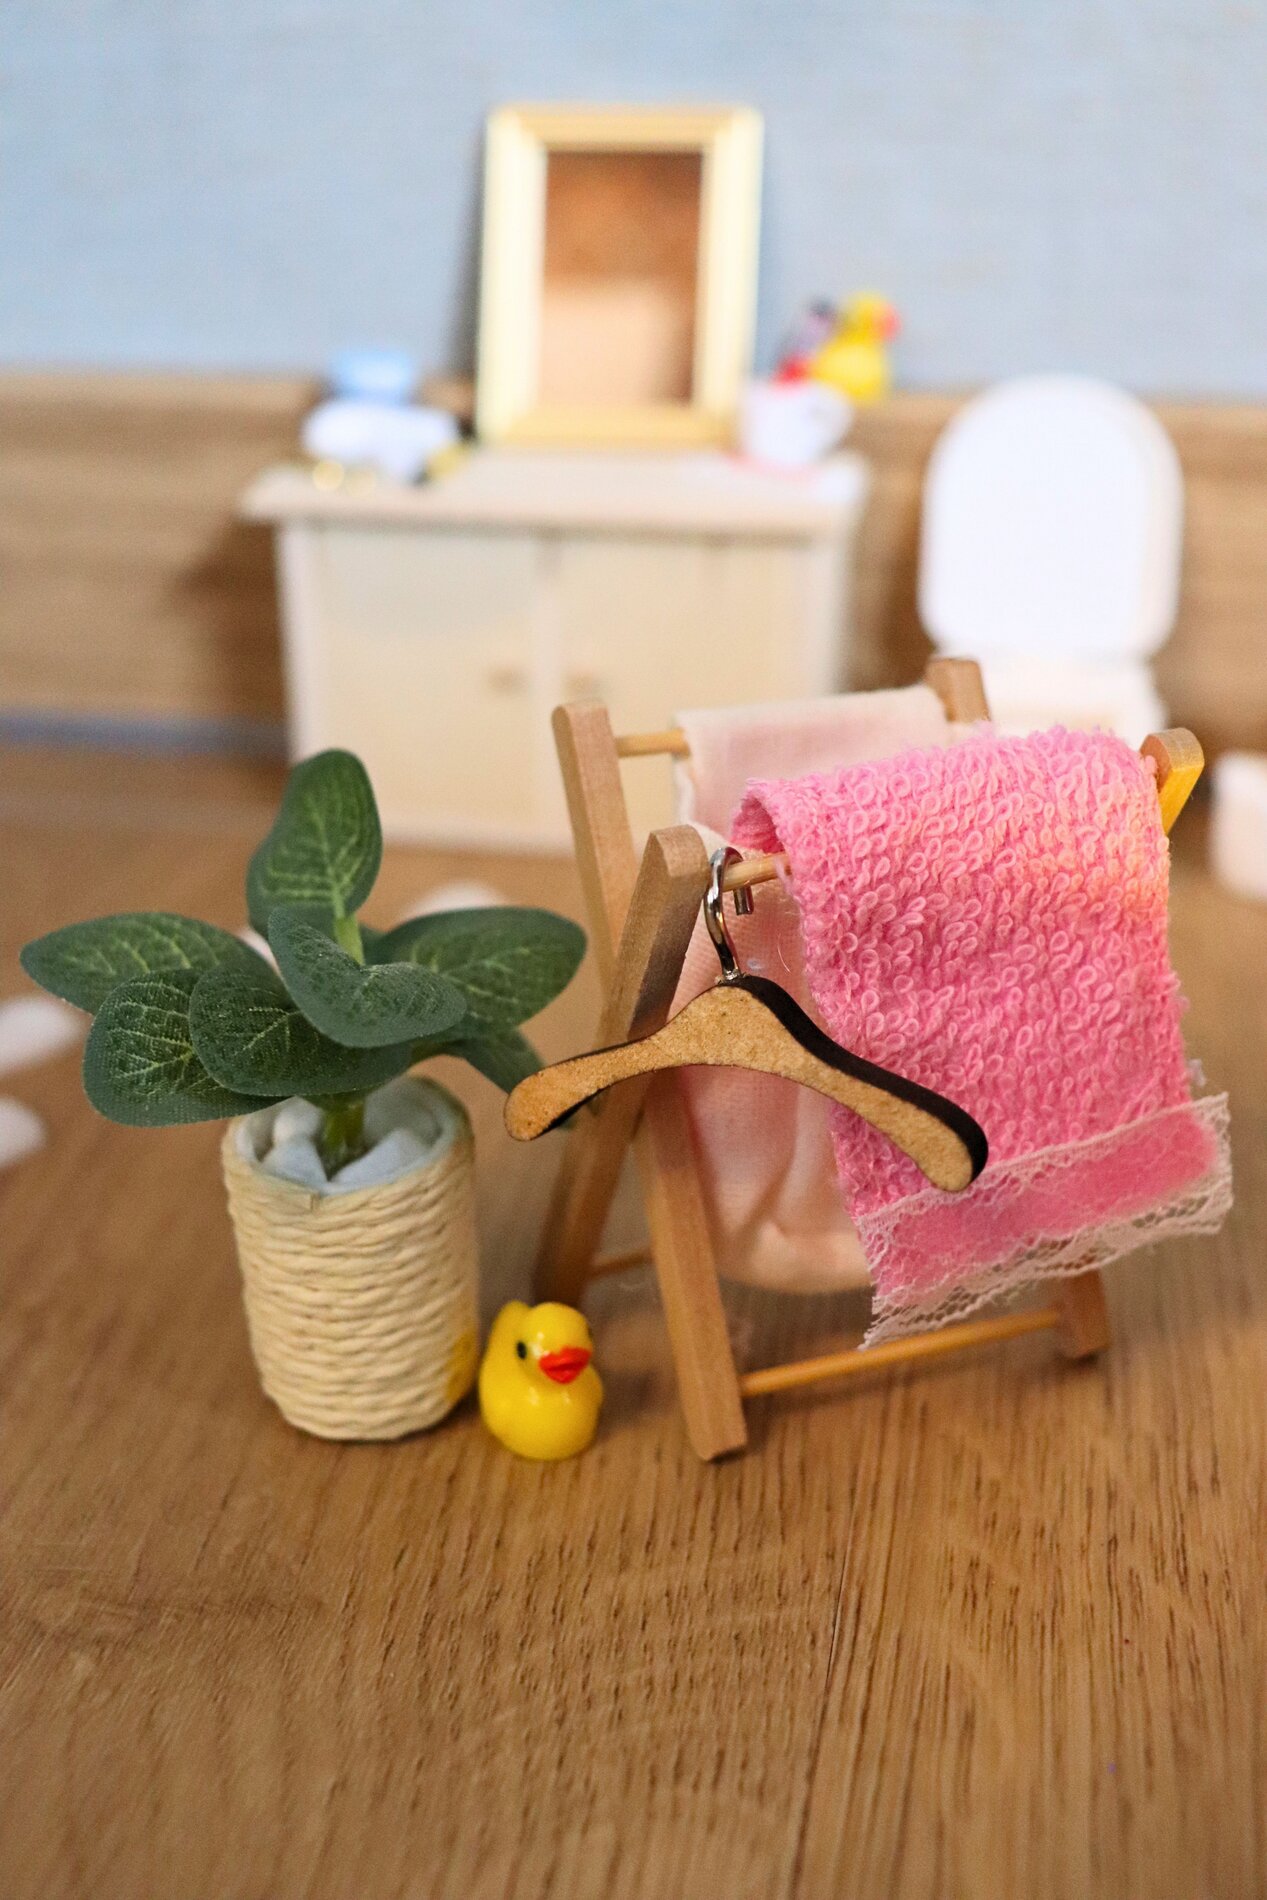
Designing an Elf Bathroom in a Miniature World
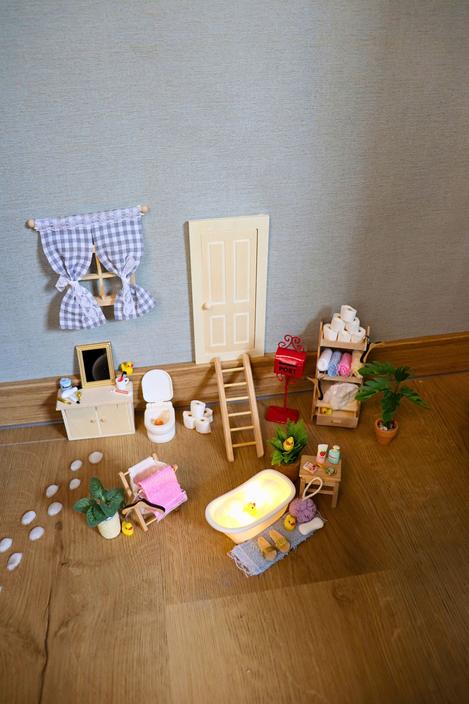
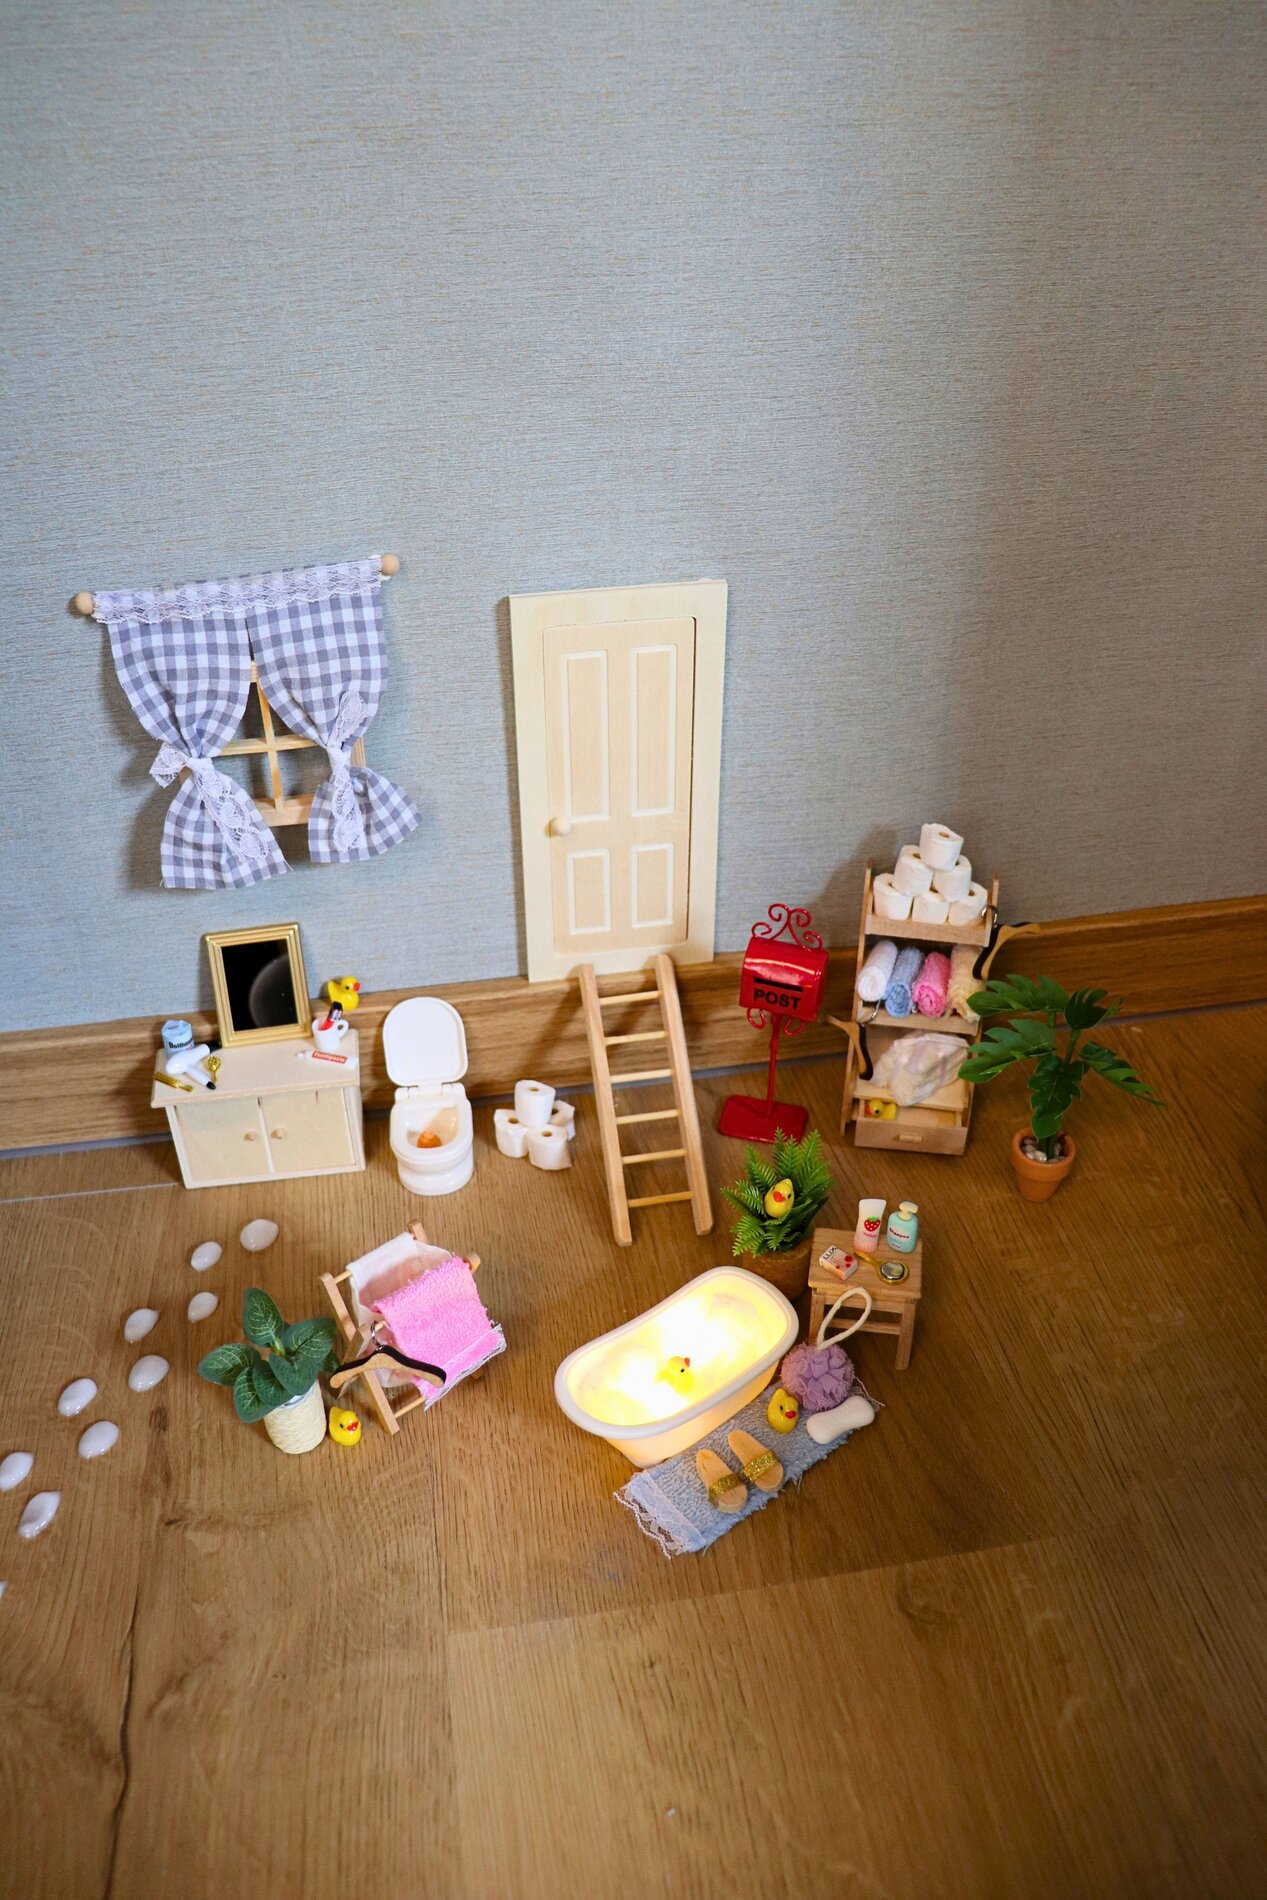
First, think about where you want to set up your miniature scene—for example, on a wall with a baseboard or on a sturdy surface. This will make the gnome bathroom look like a real little room later on. Quickly test where the miniature door fits best, and make sure to leave enough space in front of it for the bathtub, shelf, and small accessories.
Preparing and Placing the Miniature Door
Take the miniature door and decide whether you want to leave it in its natural color or paint it to match your miniature world. A light shade has a classic look and fits well with a bathroom setting. Start by simply placing the door in the desired spot without securing it in place just yet. This way, you can still adjust the scene as you decorate and check the proportions.
Create a Cozy Look for the Walls and “Window” Corner
To make the gnome door scene feel cozy, it needs a second focal point next to the door. A small window decoration or a narrow frame creates a sense of space and makes the miniature world appear deeper. Make sure the fabrics or curtains aren’t too bulky—light, flowing fabrics look particularly convincing in miniature because they don’t appear “too big.”
Setting Up the Bathroom Area: Bathtub and Toilet as the Centerpiece
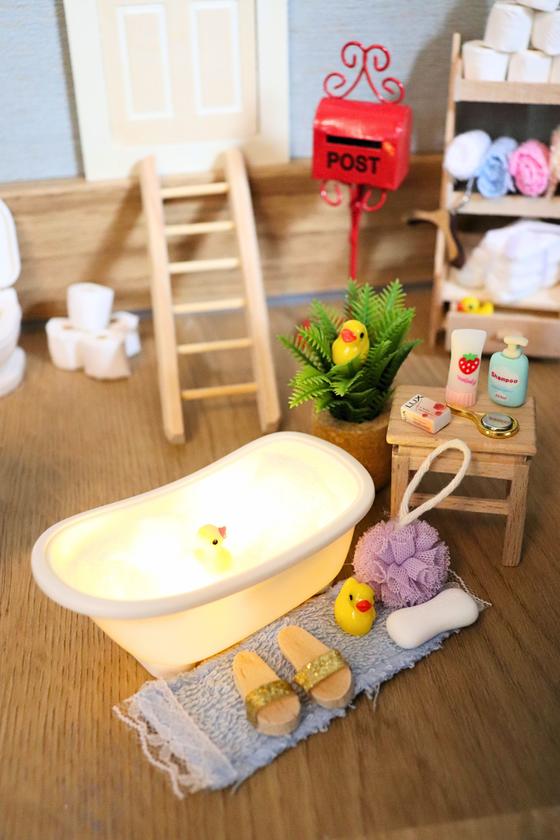
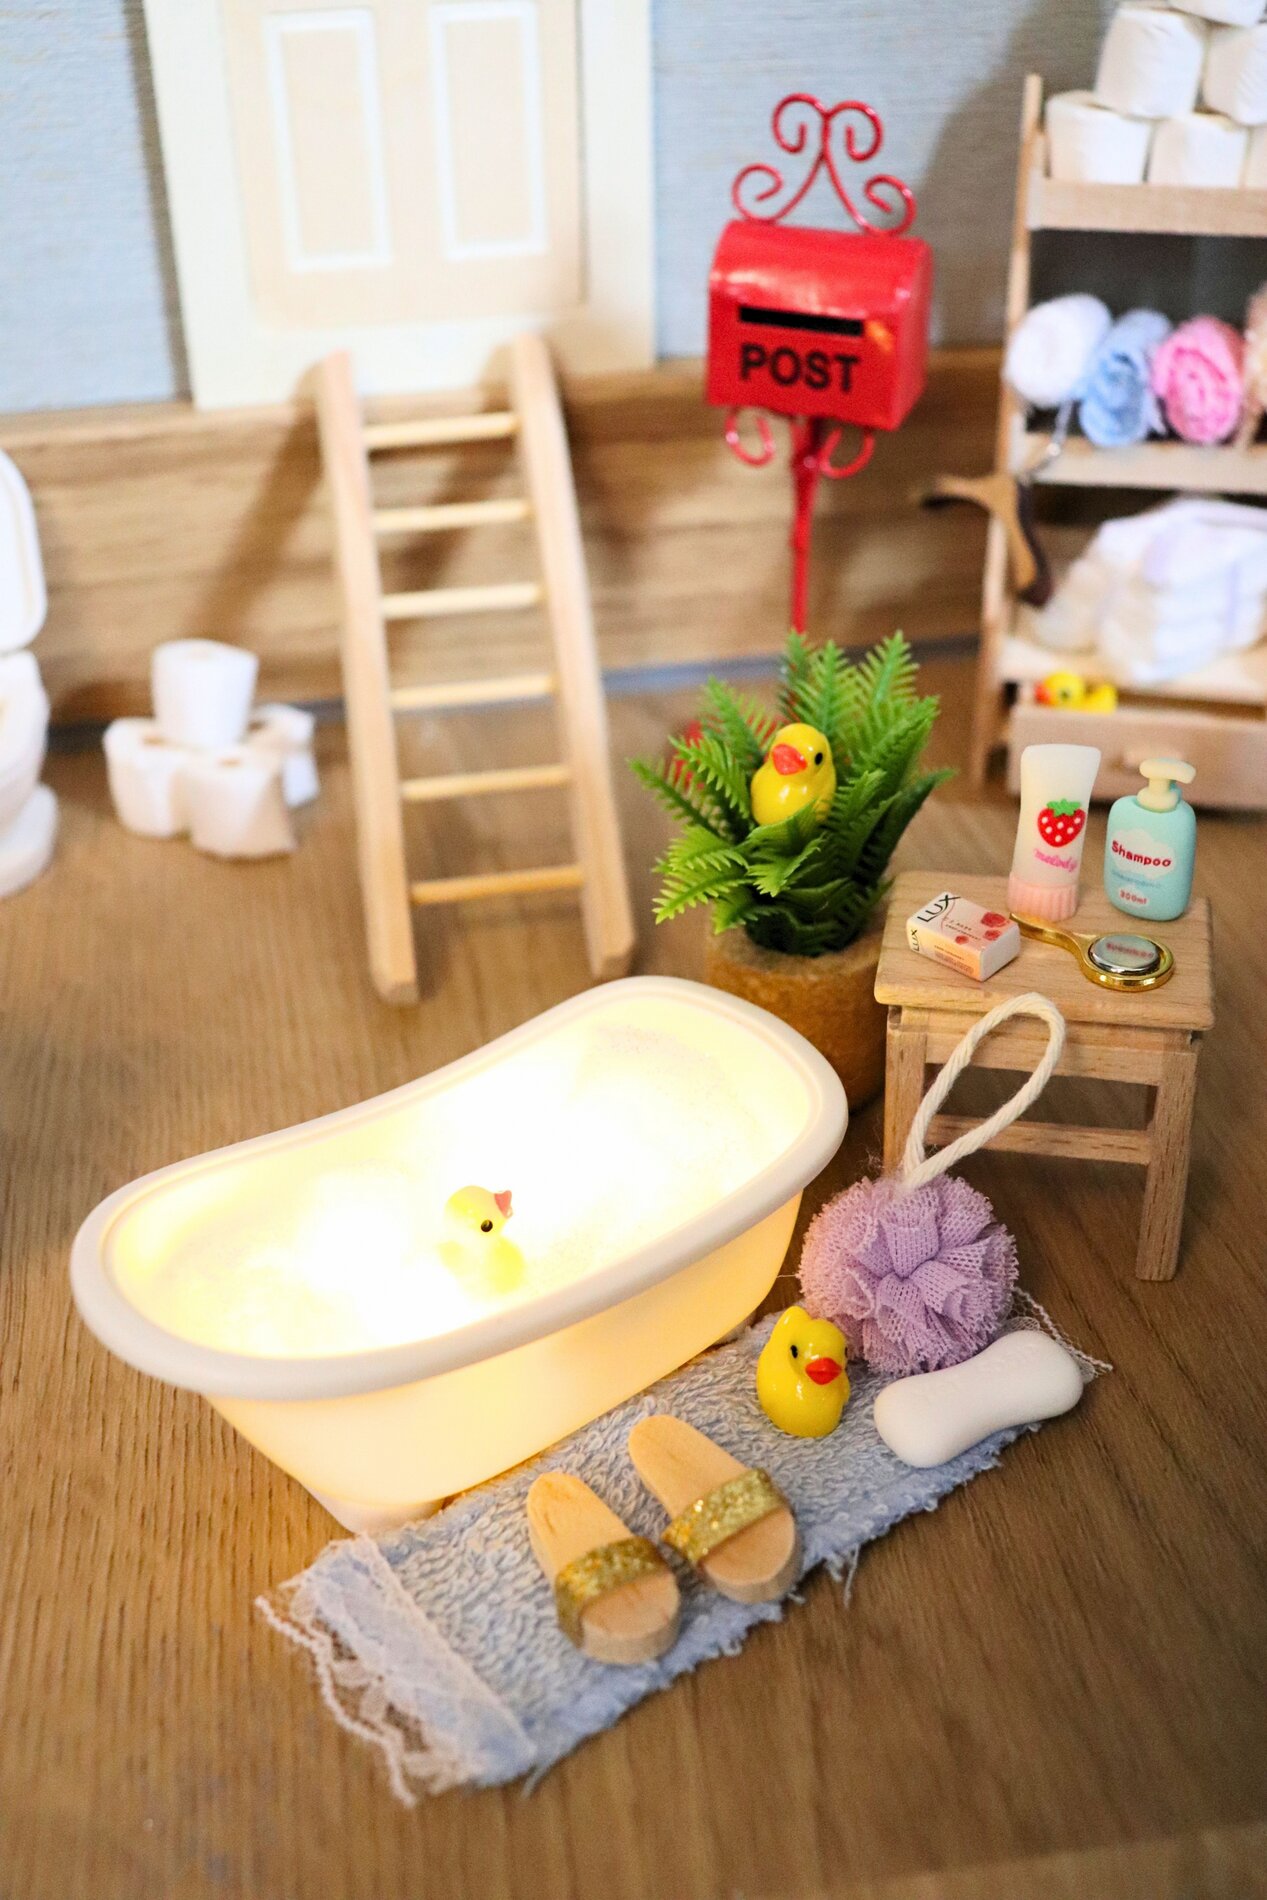
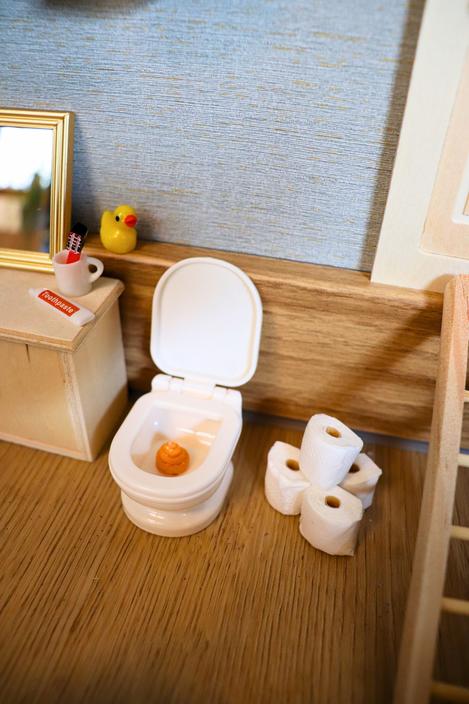
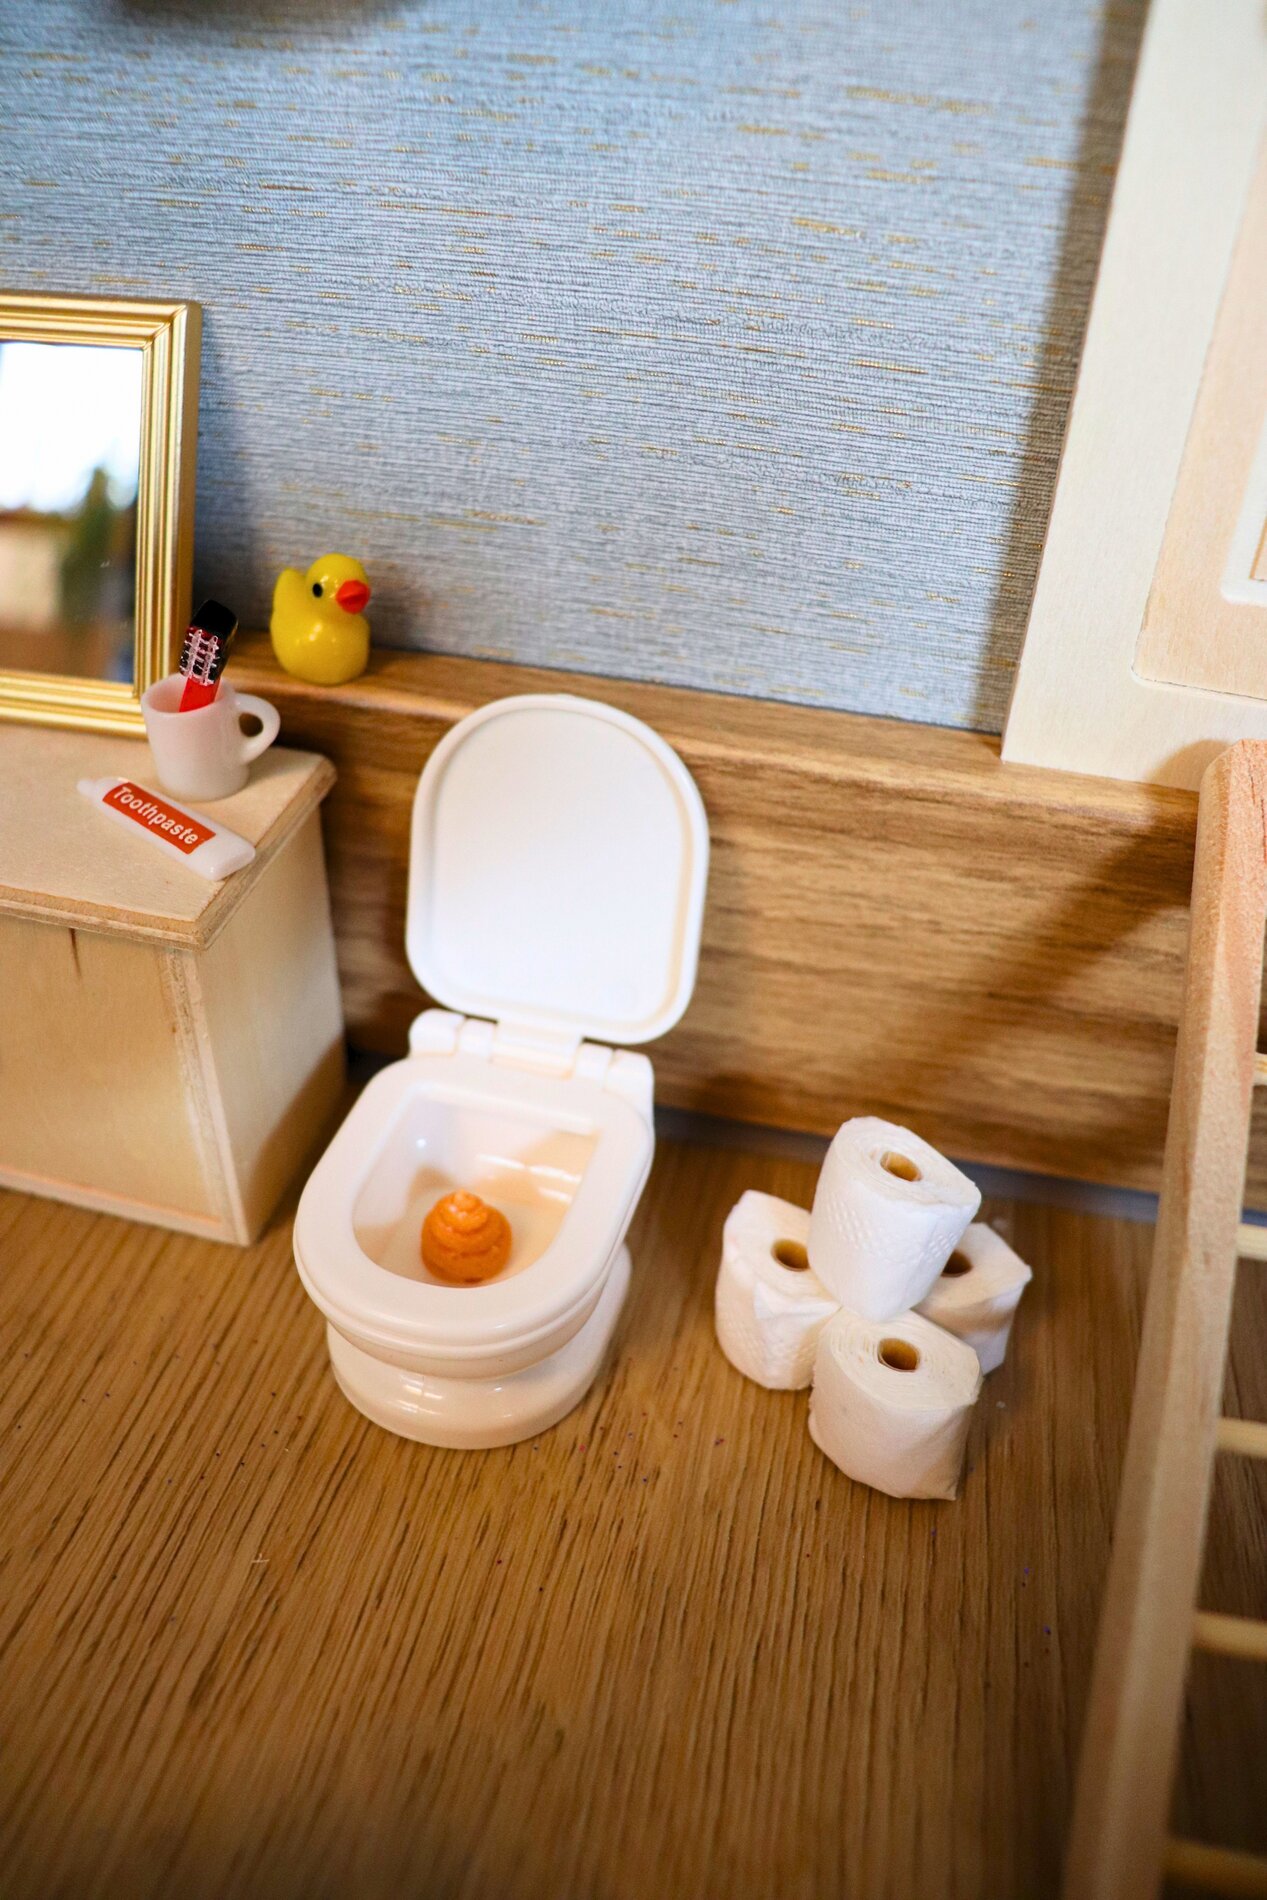
Start by placing the bathtub, since it’s usually the central element in an elf bathroom. Position it so there’s still room in front for a small bath mat or towels. Next, place the toilet next to it, making sure to leave a little space between the pieces. These small gaps are important so that the scene doesn’t look cramped and every detail remains recognizable on its own.
Arranging Furniture: Creating Storage Space for Miniature Items
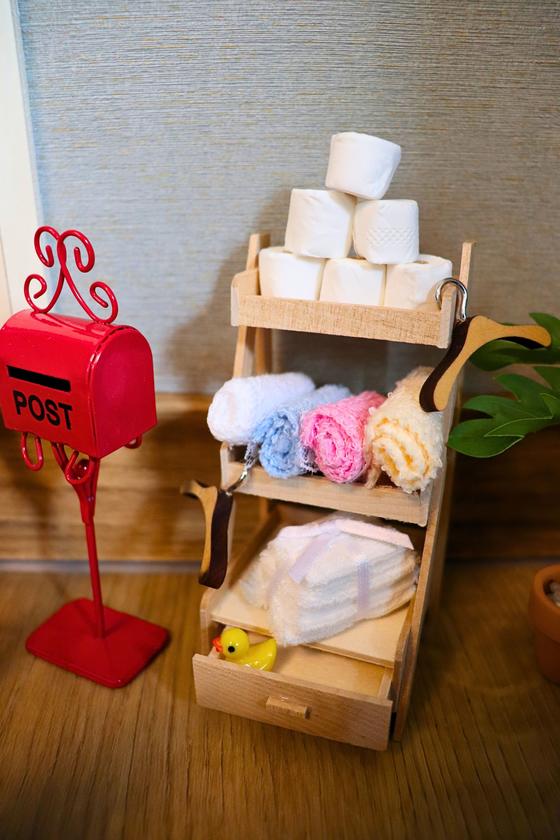
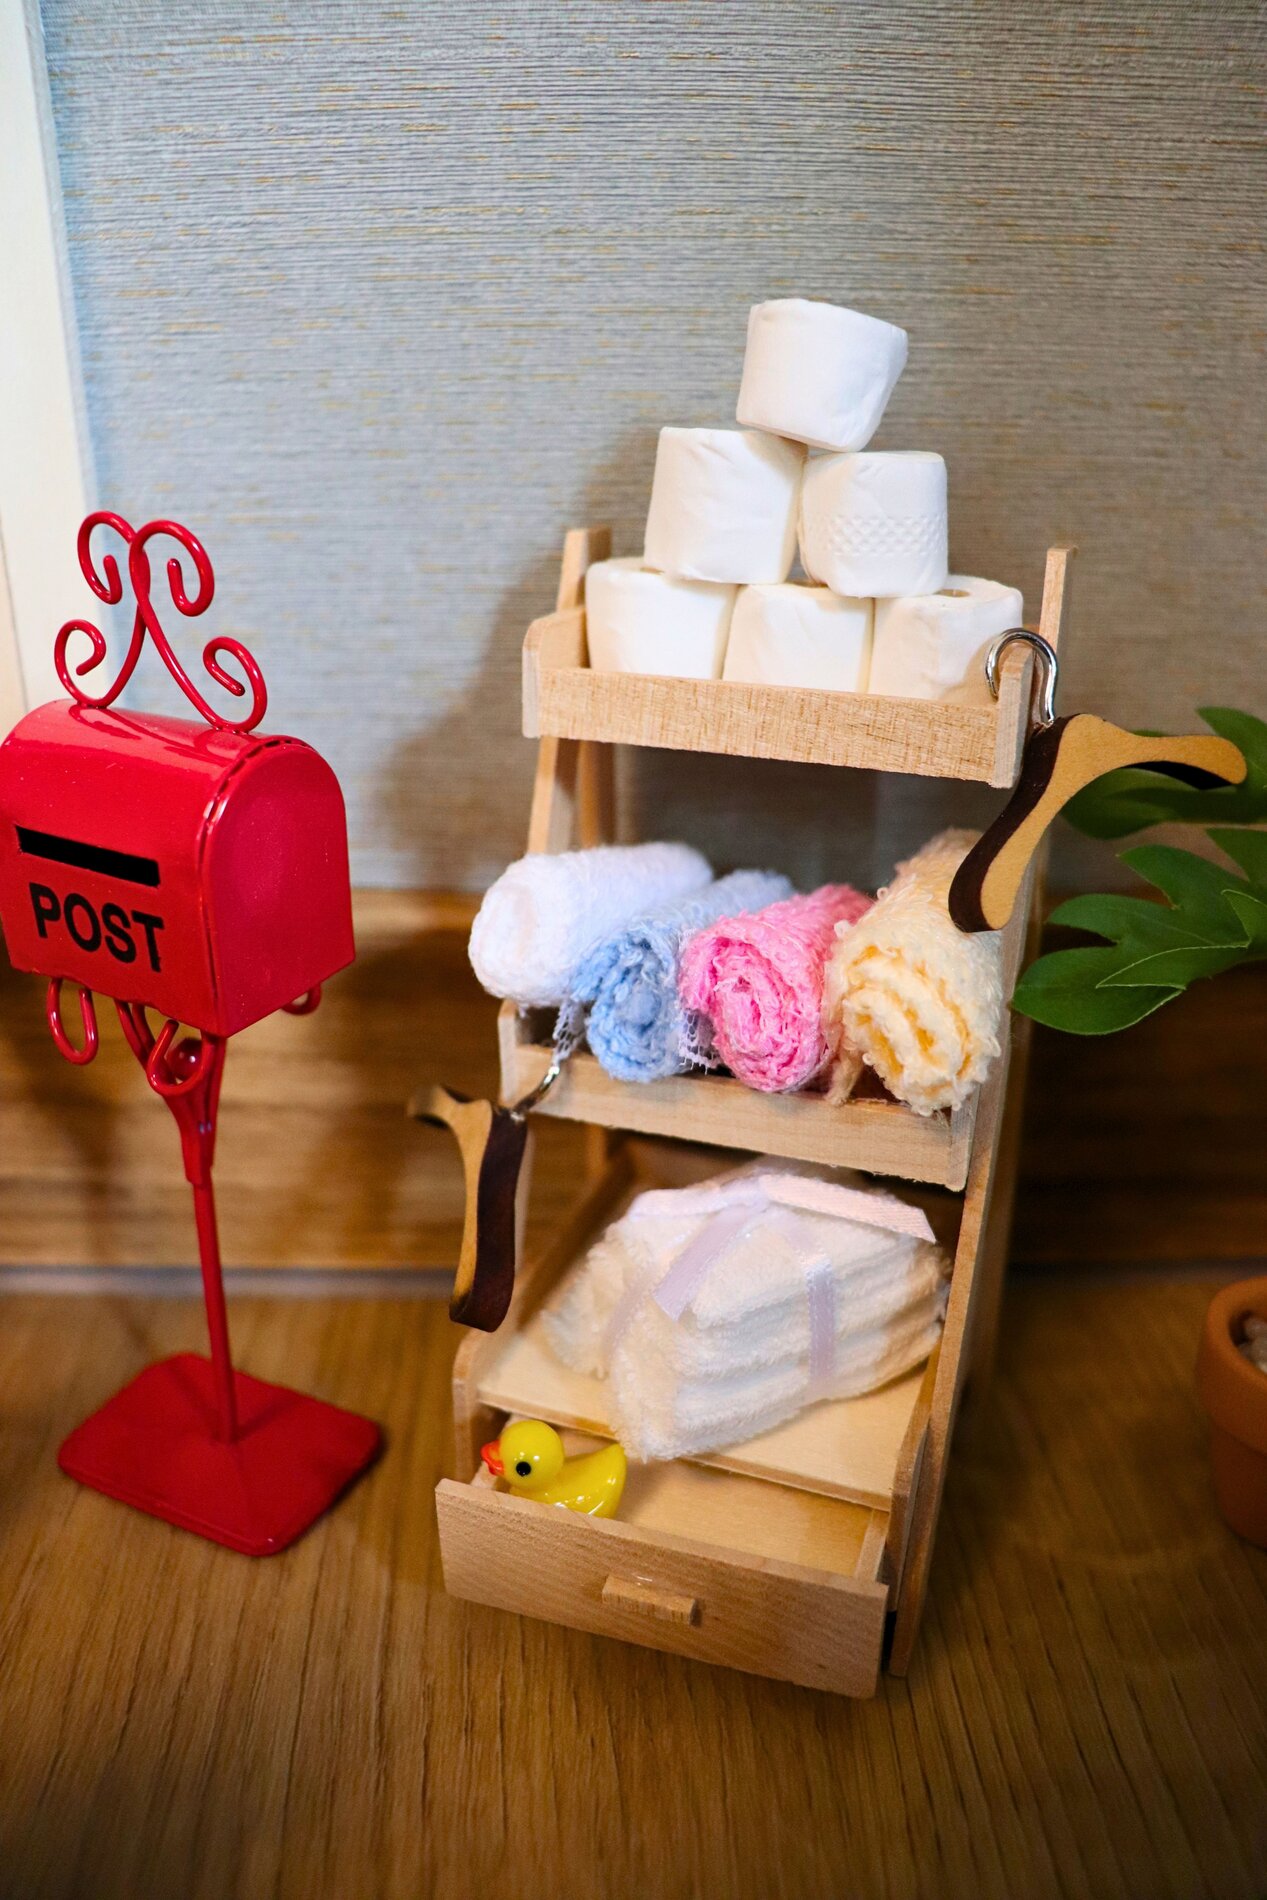
Now place a small cabinet or sideboard near the door or toilet. Mini accessories like little bottles, bowls, or a mirror look especially realistic on top of it because they appear to have been deliberately placed there. A shelf or a small cart is perfect for stacking towels and toilet paper.
Decorating with Accessories: Towels, Toiletries, and Details
Now comes the part that brings your gnome door idea to life. Roll up mini towels or place them folded over an edge to make the bathroom look lived-in. You can group small bottles together: Two or three together look like a toiletries set and provide visual balance. A small stool or side table is ideal for placing soap and creame . It’s important to strike a balance between “practical” (placed where you need it) and “decorative” (looks pretty).
Making the miniature world more realistic: Floor, paths, and small accents
To create more atmosphere, design the area in front of the door like a small path, for example with mini stones or small “stepping stones.” This automatically draws the eye to the gnome door. Small plants and cute little ducks bring the scene to life. Be careful not to fill every empty spot so your miniature bathroom doesn’t look too cluttered.
Once everything is in place, look at the miniature scene from normal eye level and from the “gnome’s perspective” close to the ground. Move small pieces around so that nothing blocks the door and the most important elements (bathtub, shelf, door) remain clearly visible. Only when you’re satisfied should you secure the door and decorations with adhesive glue (mounting glue) to keep them in place.
Continue to expand your gnome bathroom step by step—with additional miniature accessories, small textiles, and decorative elements that complement your gnome door scene. In our online shop, you’ll find plenty of ideas and materials to make your miniature world even more detailed.