- Secure order
- Easy return shipment
- Service-Hotline +39 02 3045 5879
Instructions No. 4119
Difficulty: Beginner
Working time: 2 Hours
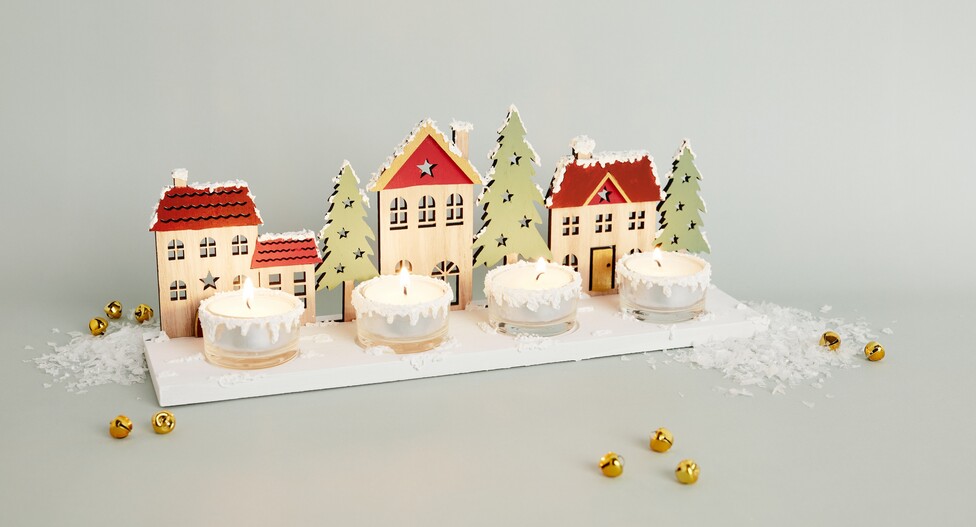
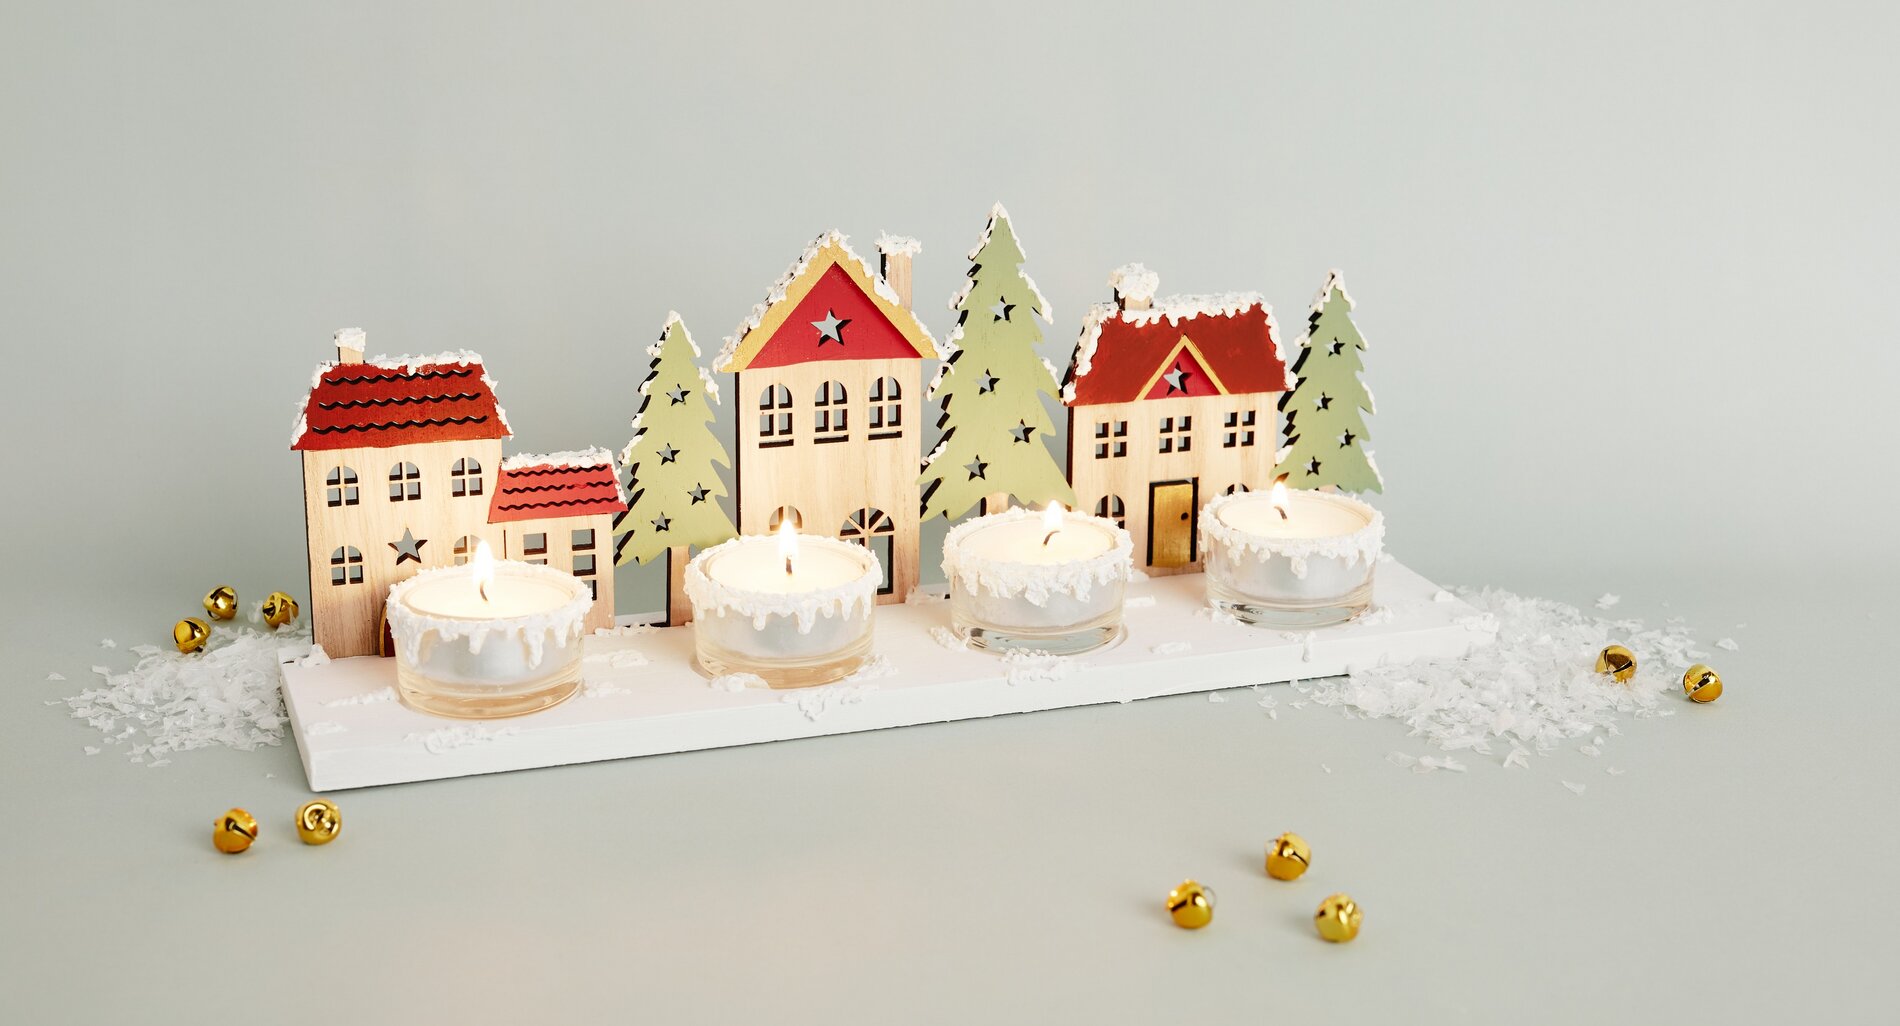
Step 1: Plan the color scheme—warm, wintry, cozy. For Advent, a combination of warm red-, and cream tones creates a particularly festive atmosphere. Using just a few distinct color blocks creates a calm overall look that looks especially beautiful later on by candlelight.
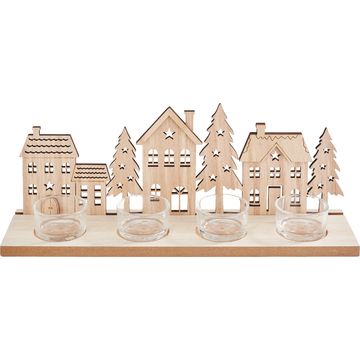
Step 2: Paint the “ building kit ” with craft paints Apply the “ handicraft paint ” in thin layers. “Thin” means: it’s better to apply two thin coats than one thick one, as this preserves the wood grain and prevents paint from pooling at the edges. When painting the houses, start with the large surfaces (walls and roofs) and then move on to the details (window frames, doors, small patterns). For the fir trees, an even base color is often sufficient; the star-shaped cutouts will then appear as tiny points of light once the tea lights are lit.
Step 3: Let it dry—so nothing slips out of place when gluing Let the painted parts dry completely. This step will save you time later because you won’t get fingerprints in the paint during assembly, and the parts won’t slip out of place when you glue them. If you’ve applied multiple coats, it’s best to let the paint dry a little longer.
Step 4: Secure the individual parts with “ handicraft glue ” Test-fit the elements together and align them straight. Then separate them one by one and apply a small amount of “ handicraft glue ” to each contact point. Press the pieces together briefly. The purpose: While the connections hold on their own, the glue ensures that your “ tealight holders-” village remains stable—even if you rearrange or transport it frequently during Advent.
Step 5: Decorative Snow Liner for Winter Accents Once the glue has dried completely, use a decorative snow liner to add subtle highlights: a “snow edge” along the roof ridges, small dots on the roof surfaces, delicate lines along the edges of the trees, or tiny dots around windows and star-shaped openings. A snow liner is a thicker, decorative paint that rises slightly as it dries—creating a beautiful 3D snow effect that looks truly wintry.
Step 6: Place the tea light jars and decorate them safely Place the tea light jars in their designated spots and make sure there’s enough space all around them between the wood and the decorations. For a serene Advent decoration, it looks especially beautiful when the rims of the glasses with the snow effect are visually integrated into the scene. Always use tea lights on a stable, heat-resistant surface and never leave burning candles unattended.
Now it’s your turn! If you’re looking for more ideas for Advent decorations, “ tealight holders ” designs, or winter craft projects, you’ll find the right paints, adhesives, and decorative effects in our online shop to get started on your next Christmas project right away.