- Secure order
- Easy return shipment
- Service-Hotline +39 02 3045 5879
Instructions No. 3674
Difficulty: Beginner
Working time: 3 Hours
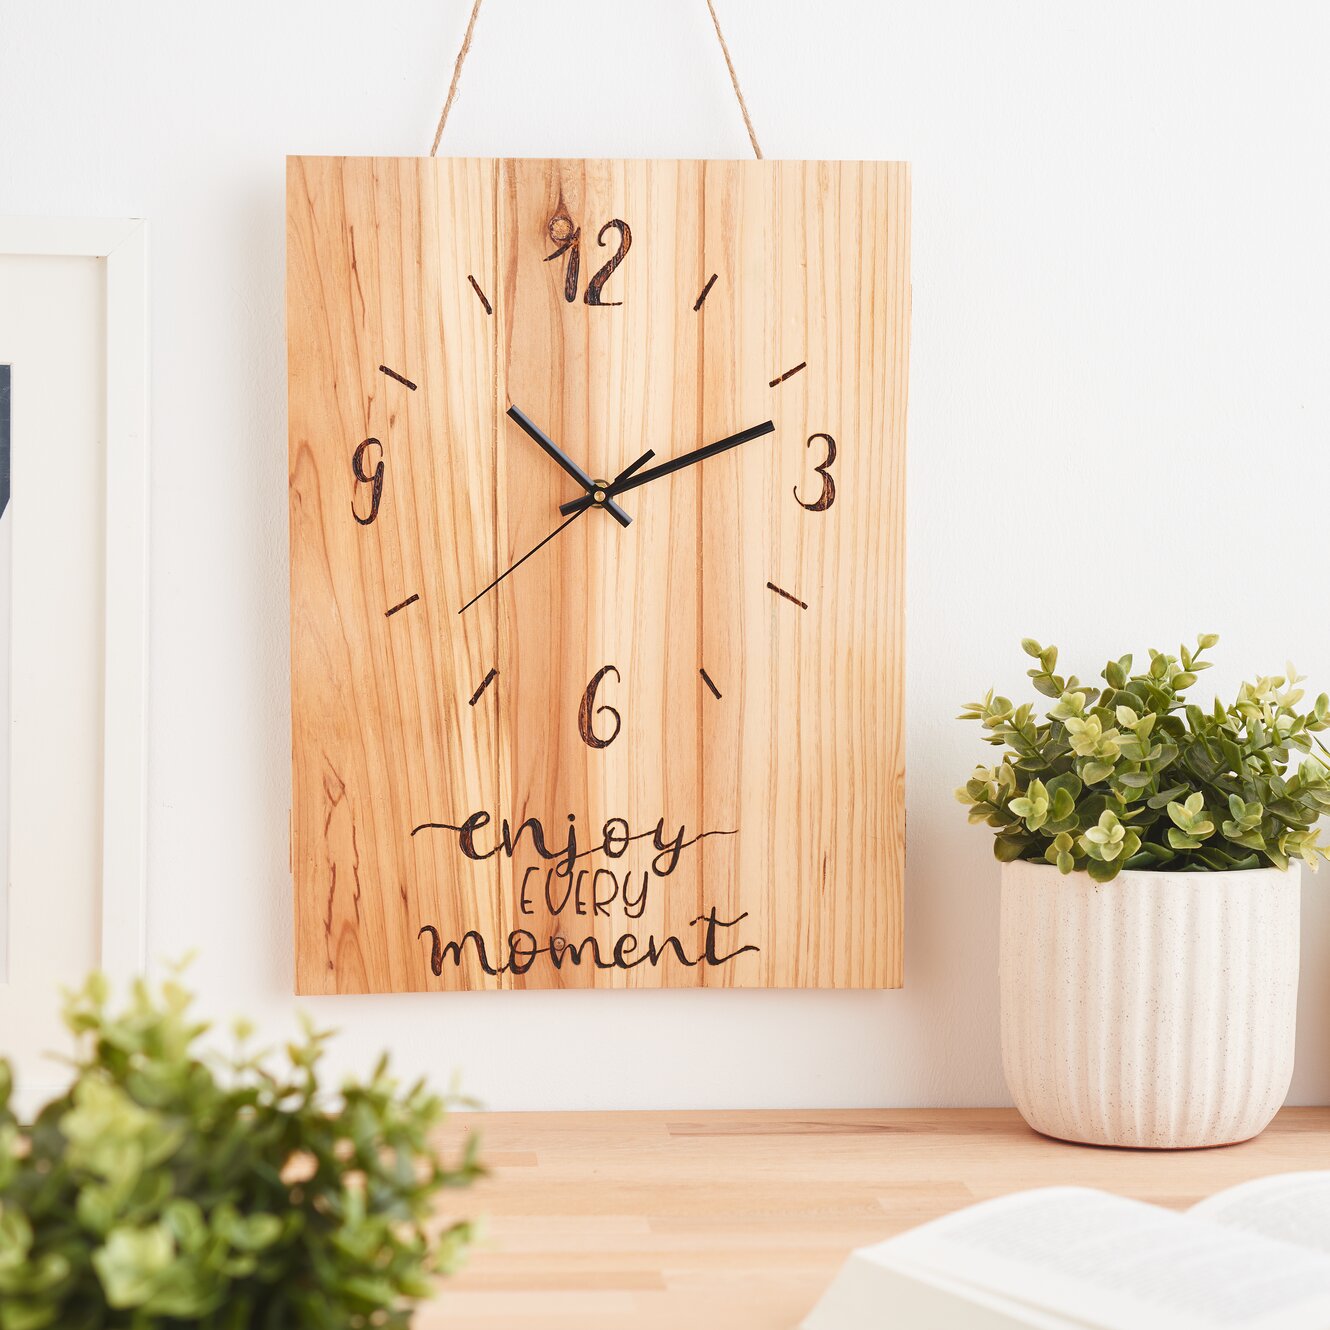
A self-designed wooden wall clock is not only practical, but also a decorative highlight for your home. With a template, fine branding lines and a colored surface, you can create a unique one-off piece step by step. These instructions show you how to create your own wooden clock with wooden burning in a clear and detailed way.
Prepare and assemble the template
First print out the free template. If it consists of several pages, glue them together precisely along the glued edge. Make sure that the motif is correctly aligned so that the later clock face looks even.
The template serves as a guide for the design of your clock and ensures that numbers and elements are positioned exactly.
Transfer the motif to the wooden panel
Place the glued template on the decorative wooden panel. Place graphite paper between the template and the wood. Graphite paper is a special transfer paper that can be used to transfer lines to the surface by lightly tracing them.
Now trace all the lines on the template with light pressure. If you then remove Paper and the template, the motif has been transferred cleanly to the wooden panel.
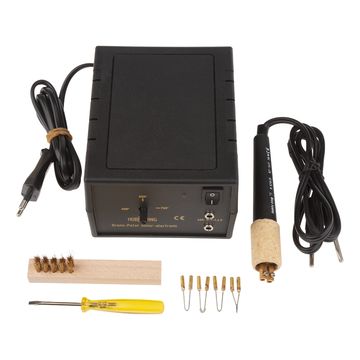
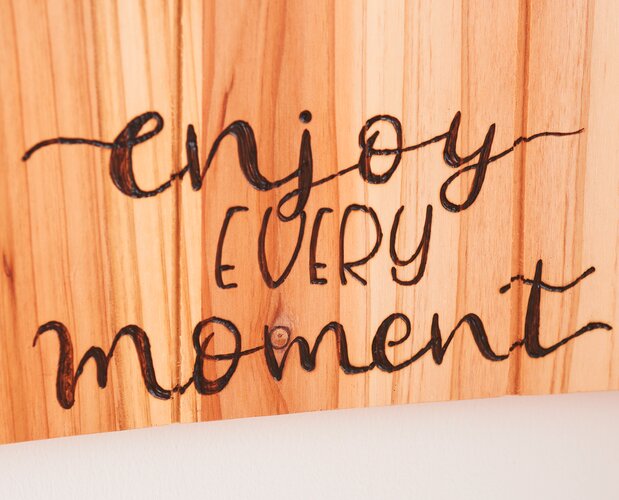
Burning in lines: Designing with the burning peter
The transferred lines are now permanently burned into the wood. Trace the lines slowly and evenly with the burning peter. This is a branding tool with which fine lines and motifs can be worked into the wood using heat.

Drill the hole for the clockwork
In the next step, drill an 8 mm hole in the center of the clock face. This hole is necessary for the hands and movement to pass through later. Make sure to drill the hole as straight and centered as possible so that the movement sits correctly later.
Painting the wooden panel
Now spray paint the wooden panel. Spray the surface evenly from a distance so that no paint bubbles appear. Several thin coats ensure a particularly attractive and even result.
Then leave the paint to dry completely. The clock should only be finished once it has dried.
Assemble the movement and finish the clock
As soon as the varnish is completely dry, you can assemble the movement. Guide it through the drilled hole and attach it according to the intended assembly. Then attach the hands - and your self-designed wooden clock is ready for use.
Your individual wooden clock - a truly unique piece
This technique creates a DIYwooden wall clock that perfectly combines functionality and creative design. Whether modern, rustic or playful - the motif, branding lines and color scheme adapt the clock to your personal style.