- Secure order
- Easy return shipment
- Service-Hotline +39 02 3045 5879
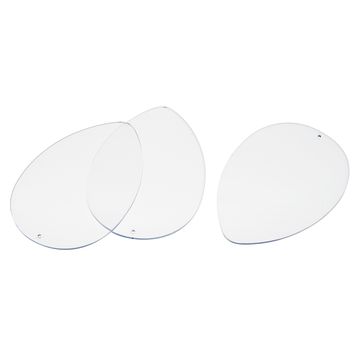
Instructions No. 3651
Difficulty: Beginner
Working time: 30 Minutes

Preparing the napkin motifs
Start by cutting out the desired motifs from a napkin. Choose patterns or designs that match your personal style or that are appropriate for the season. Remember that you only need the top, printed layer of the napkin , as this is the layer that you will transfer to the egg.
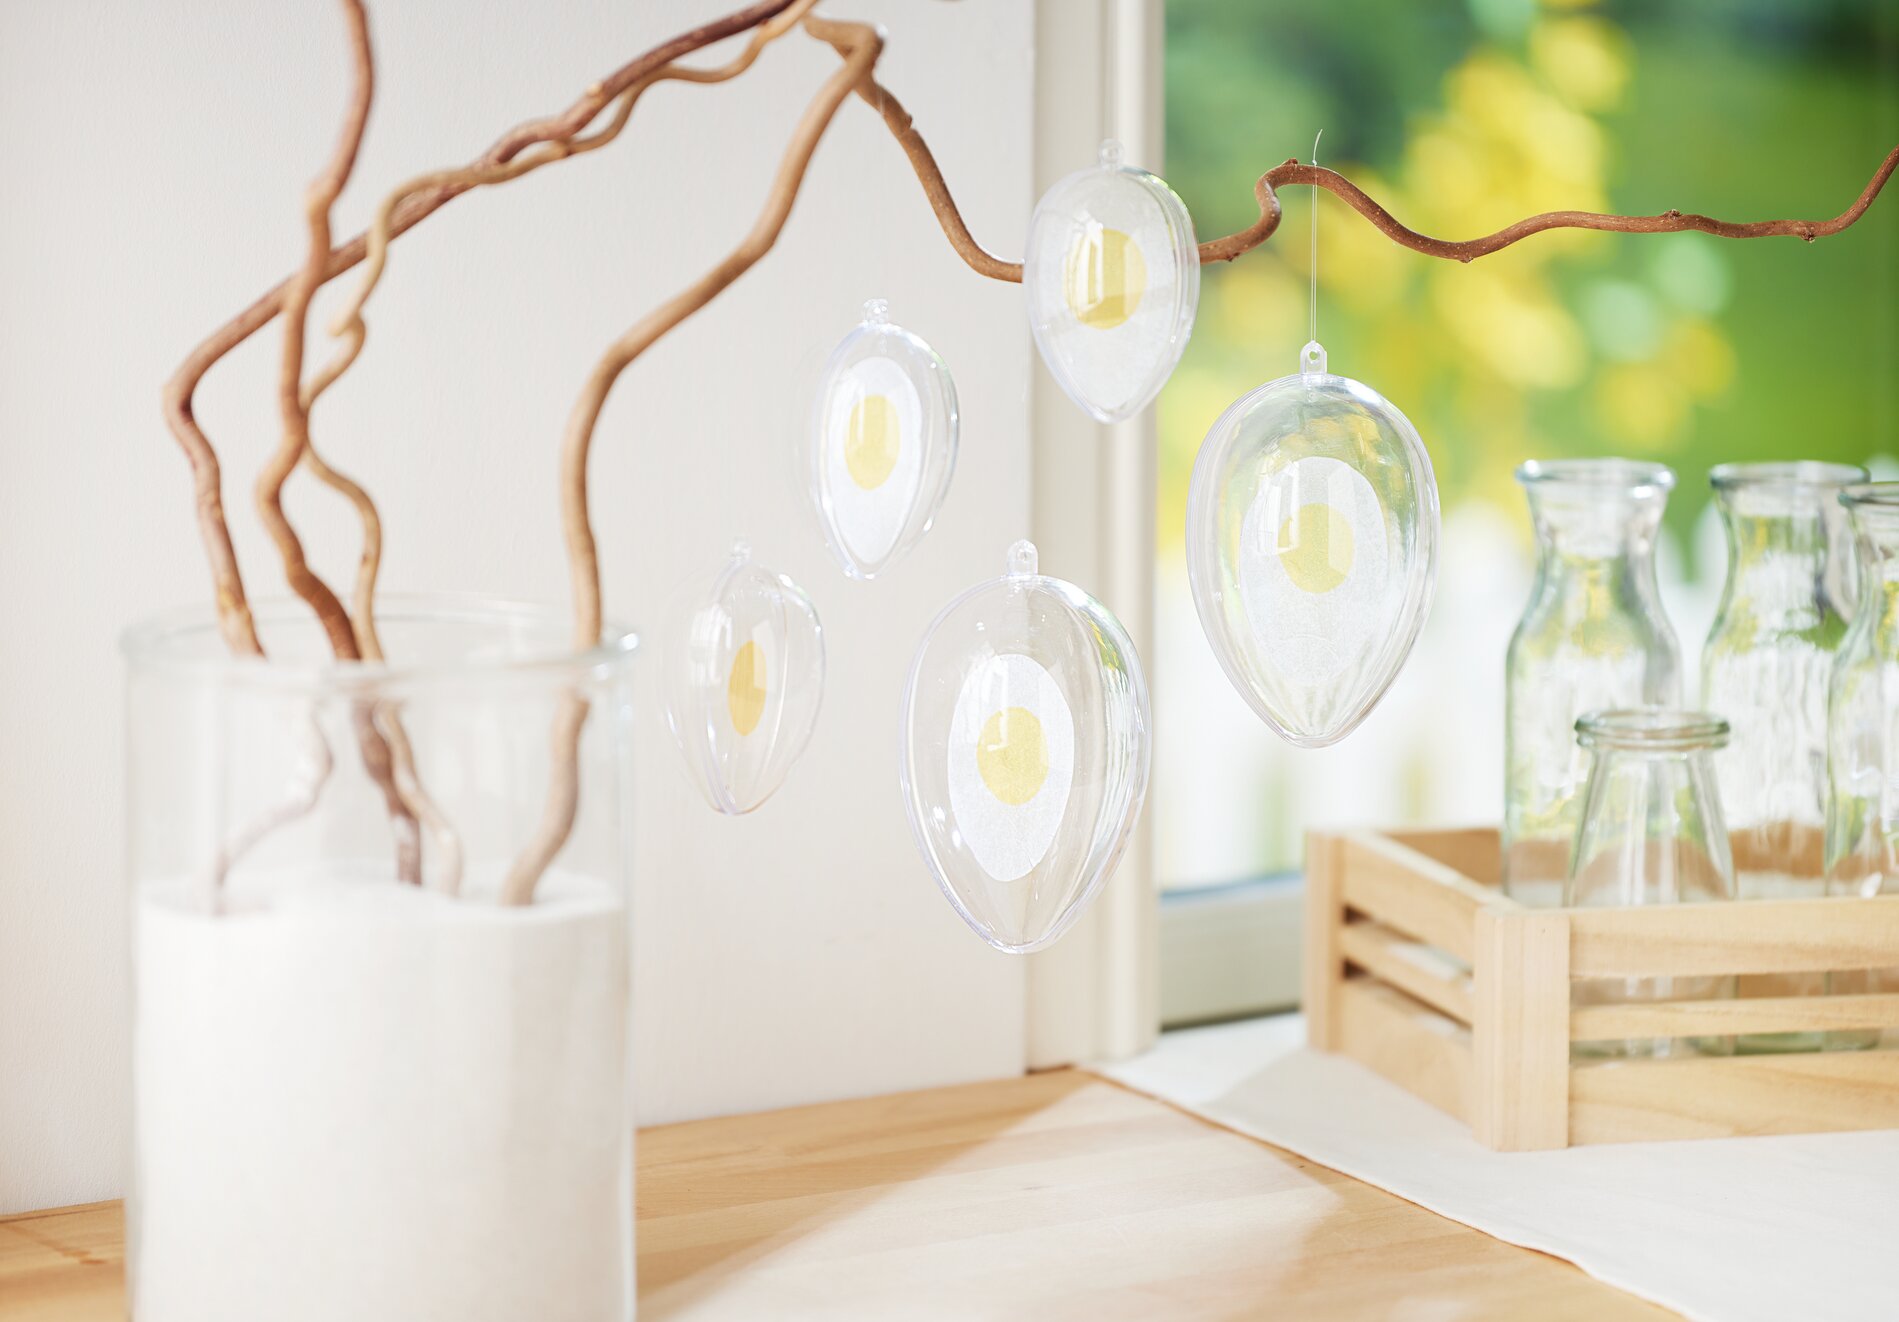
Applying the napkin motifs to the eggs
Now comes the creative part! Take a acrylic separating/painting disk to hand. Apply a thin layer of napkin varnish to the disk. Then carefully place the cut-out motifs from the napkin onto the moistened surface and apply another layer of napkin varnish . Make sure that there are no creases. The napkin varnish protects the design and ensures that it adheres firmly.
Drying and processing the acrylic glass eggs
Allow the applied designs to dry thoroughly. This can take some time, so take this time to ensure that the result is perfect. Once dry, place the painting disk with the motifs in one of the egg halves. Then carefully press the two egg halves together until they are securely glued.
The finishing touches
Now all you need is a Perlon thread to hang the acrylic glass eggs . Simply tie the thread to the existing eyelet on the acrylic egg. This is a transparent, sturdy thread that is ideal for hanging up as it is hardly noticeable.
Your personalized acrylic egg in napkin design is now ready! This method is not only uncomplicated, but also offers you many creative possibilities as you can experiment with different napkin designs.
Visit our online store today to find all the materials you need for your personal acrylic glass eggs-project. Let your creativity run wild and create individual works of art that will enrich your Easter decorations!